Diary of a man and his woodland

A blog about a man's dream to own a small woodland.


Leave a comment

Clearing and planting

Time is moving on, spring is around the corner and I haven’t done as much as I would have liked this winter. Last visit was positive, getting the oak saplings planted but the other pressing job was at the opposite corner of the wood where I have been coppicing the old hazel. I still had half of it to clear of the brash I left lying around but I also wanted to increase the density of hazel bushes there with some new plantings. Last year I found a pot of ten young plants at my local nursery so a trip there last week proved fruitful and I bought ten more. They were in bud and ready to open before long so it was crucial to get them in ASAP. Well Saturday was looking fine and I invited my eldest daughter Zoe along. She helped me with some planting last year and has been wanting to visit again for a while. We had a really busy day ahead but started out with a leisurely stroll around the wood to show her the progress so far. Then we set-to clearing the brash. Zoe, with branch pruners tookg off the small stuff and used it to make small rings around the new coppice as a deer deterrant while I sawed up the larger stuff and used it to extend the dead hedge. It took all morning and part of the afternoon. We had a lunch break and Zoe took a few photos. This old guy, looking like a woodland gnome with a cheeky grin, looks familiar!
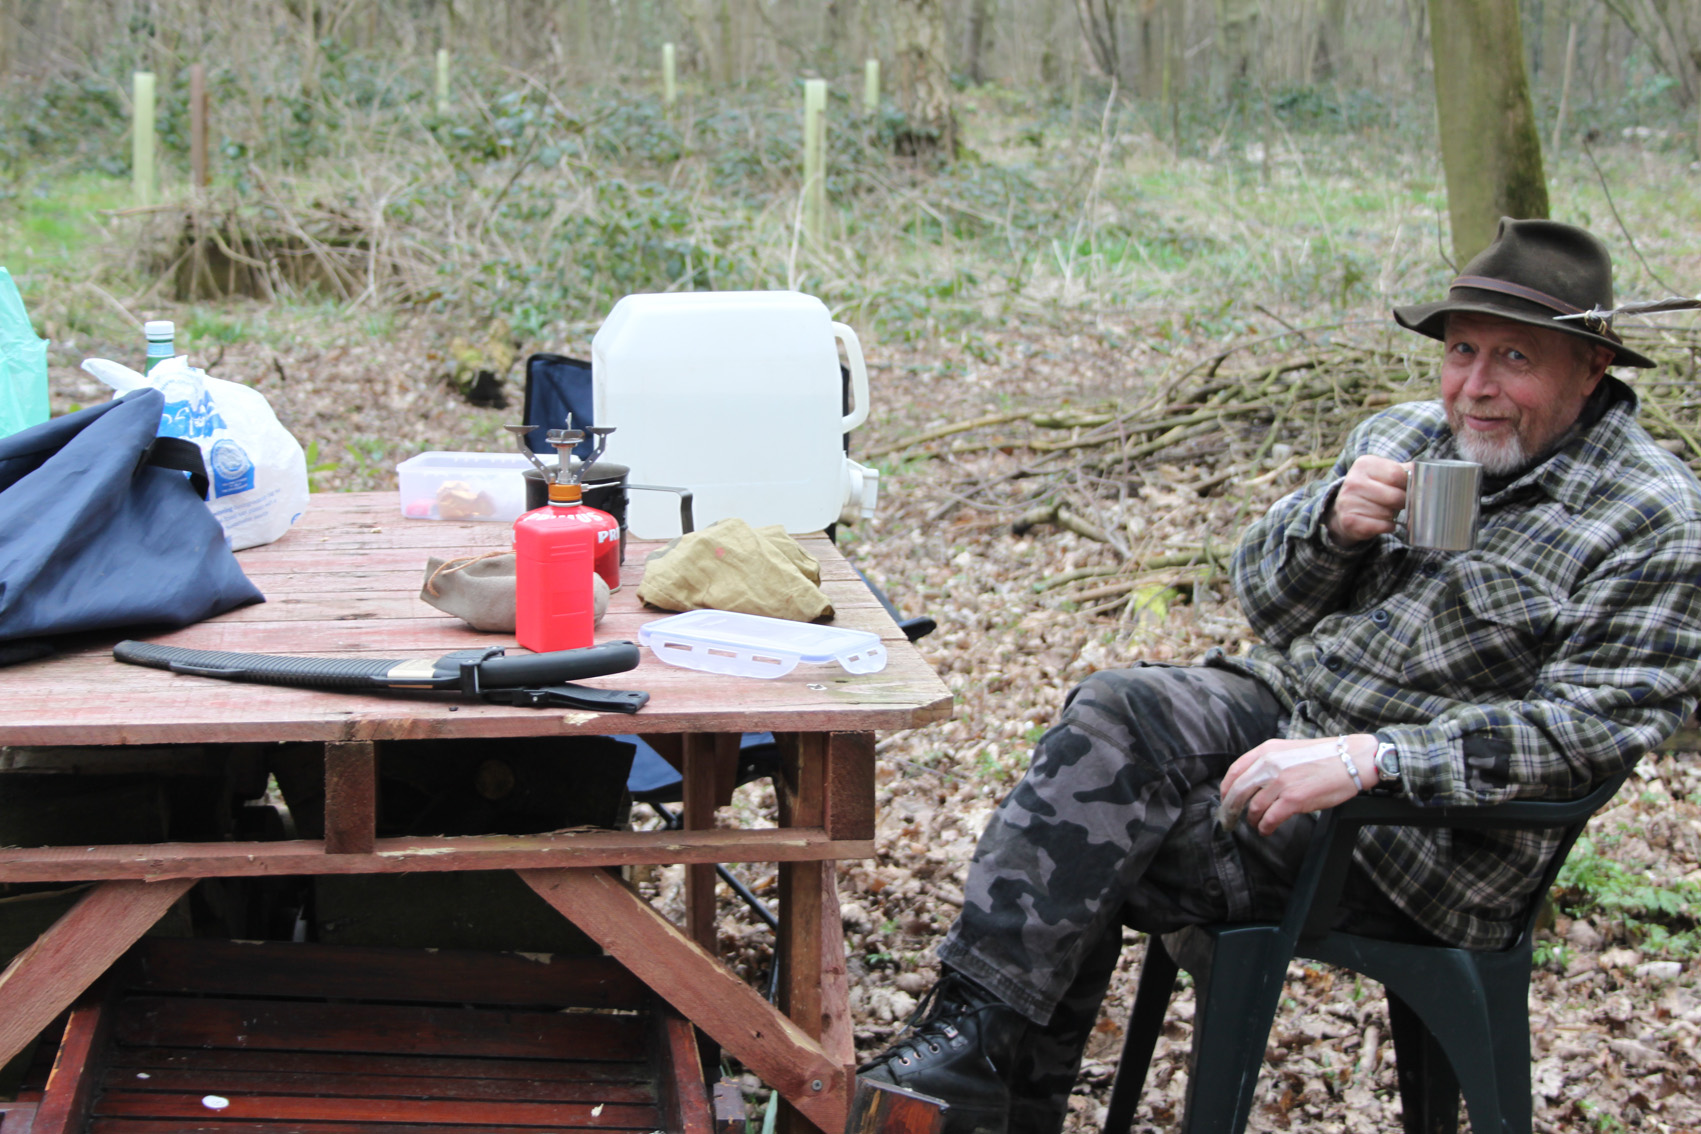
A cheeky lunch break

A cheeky lunch break

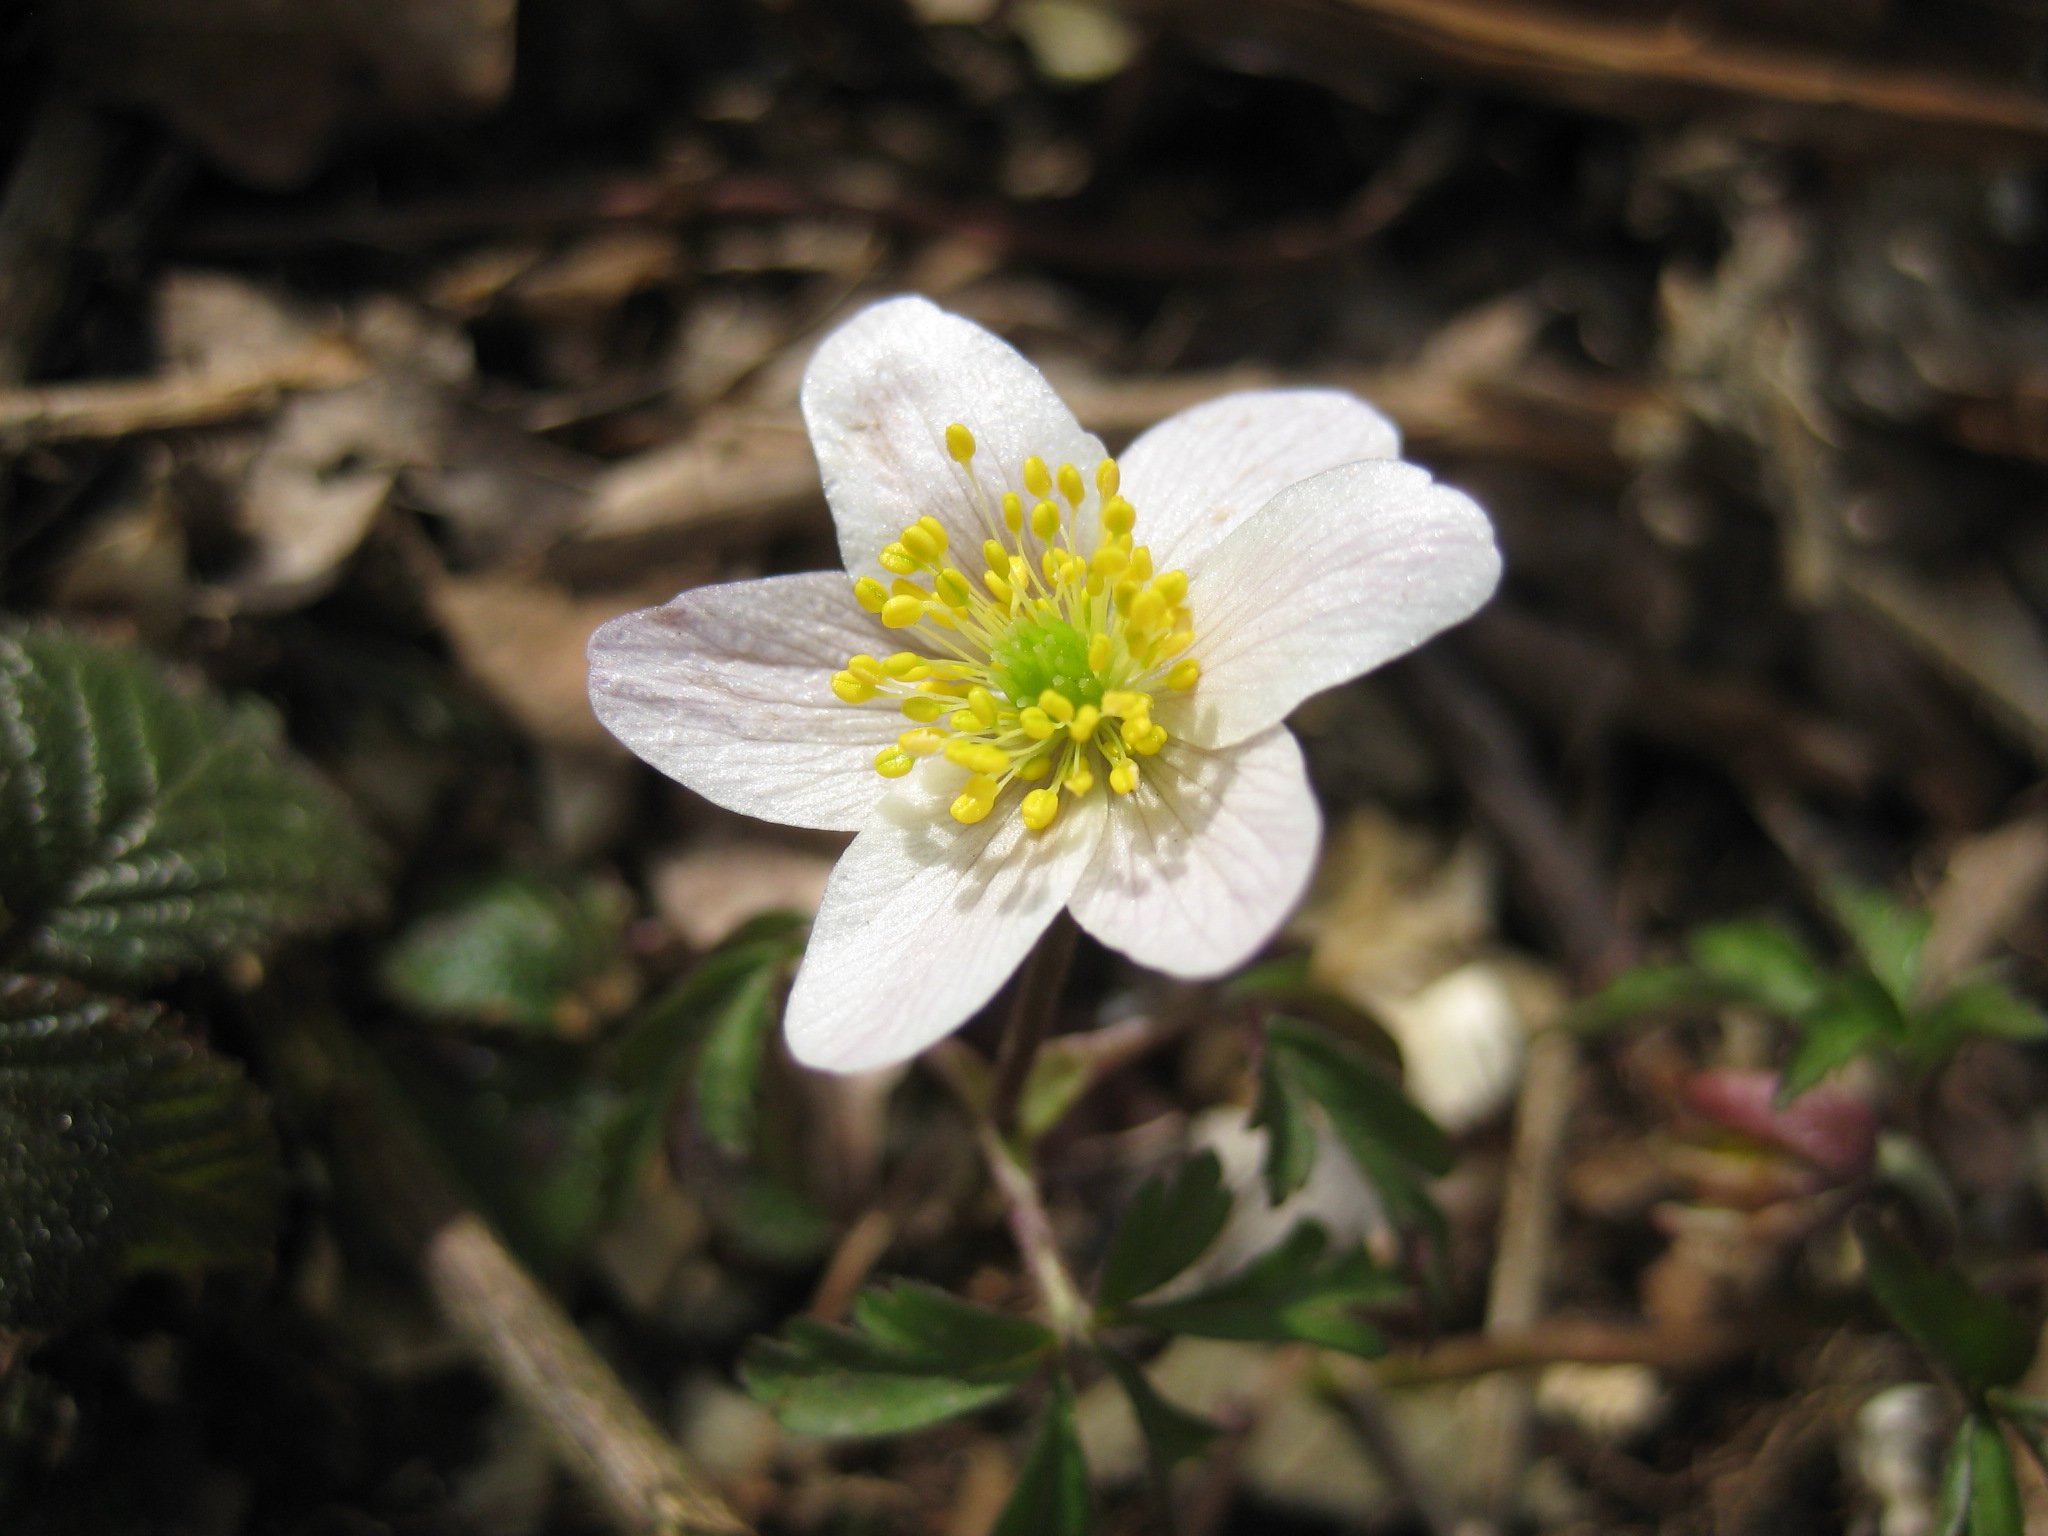
The first wood anemones are starting to open
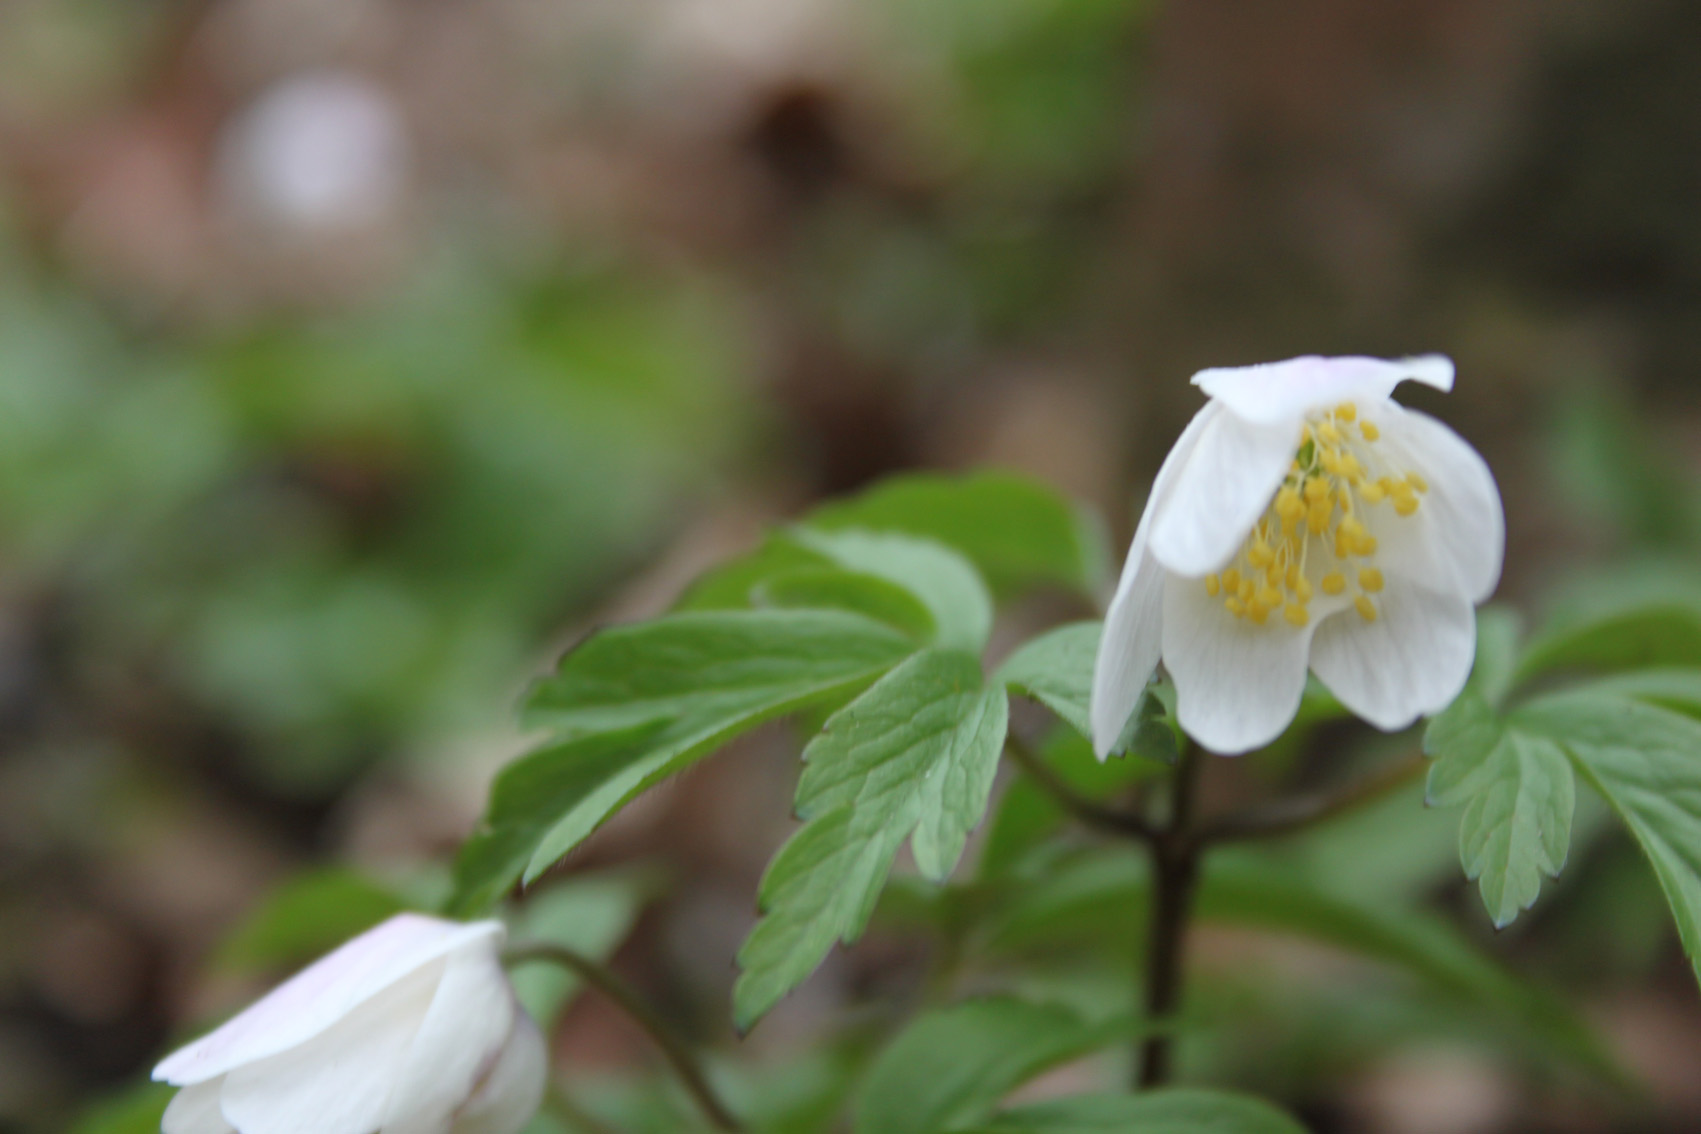
Wood anemone just starting to open

Wood anemone just starting to open

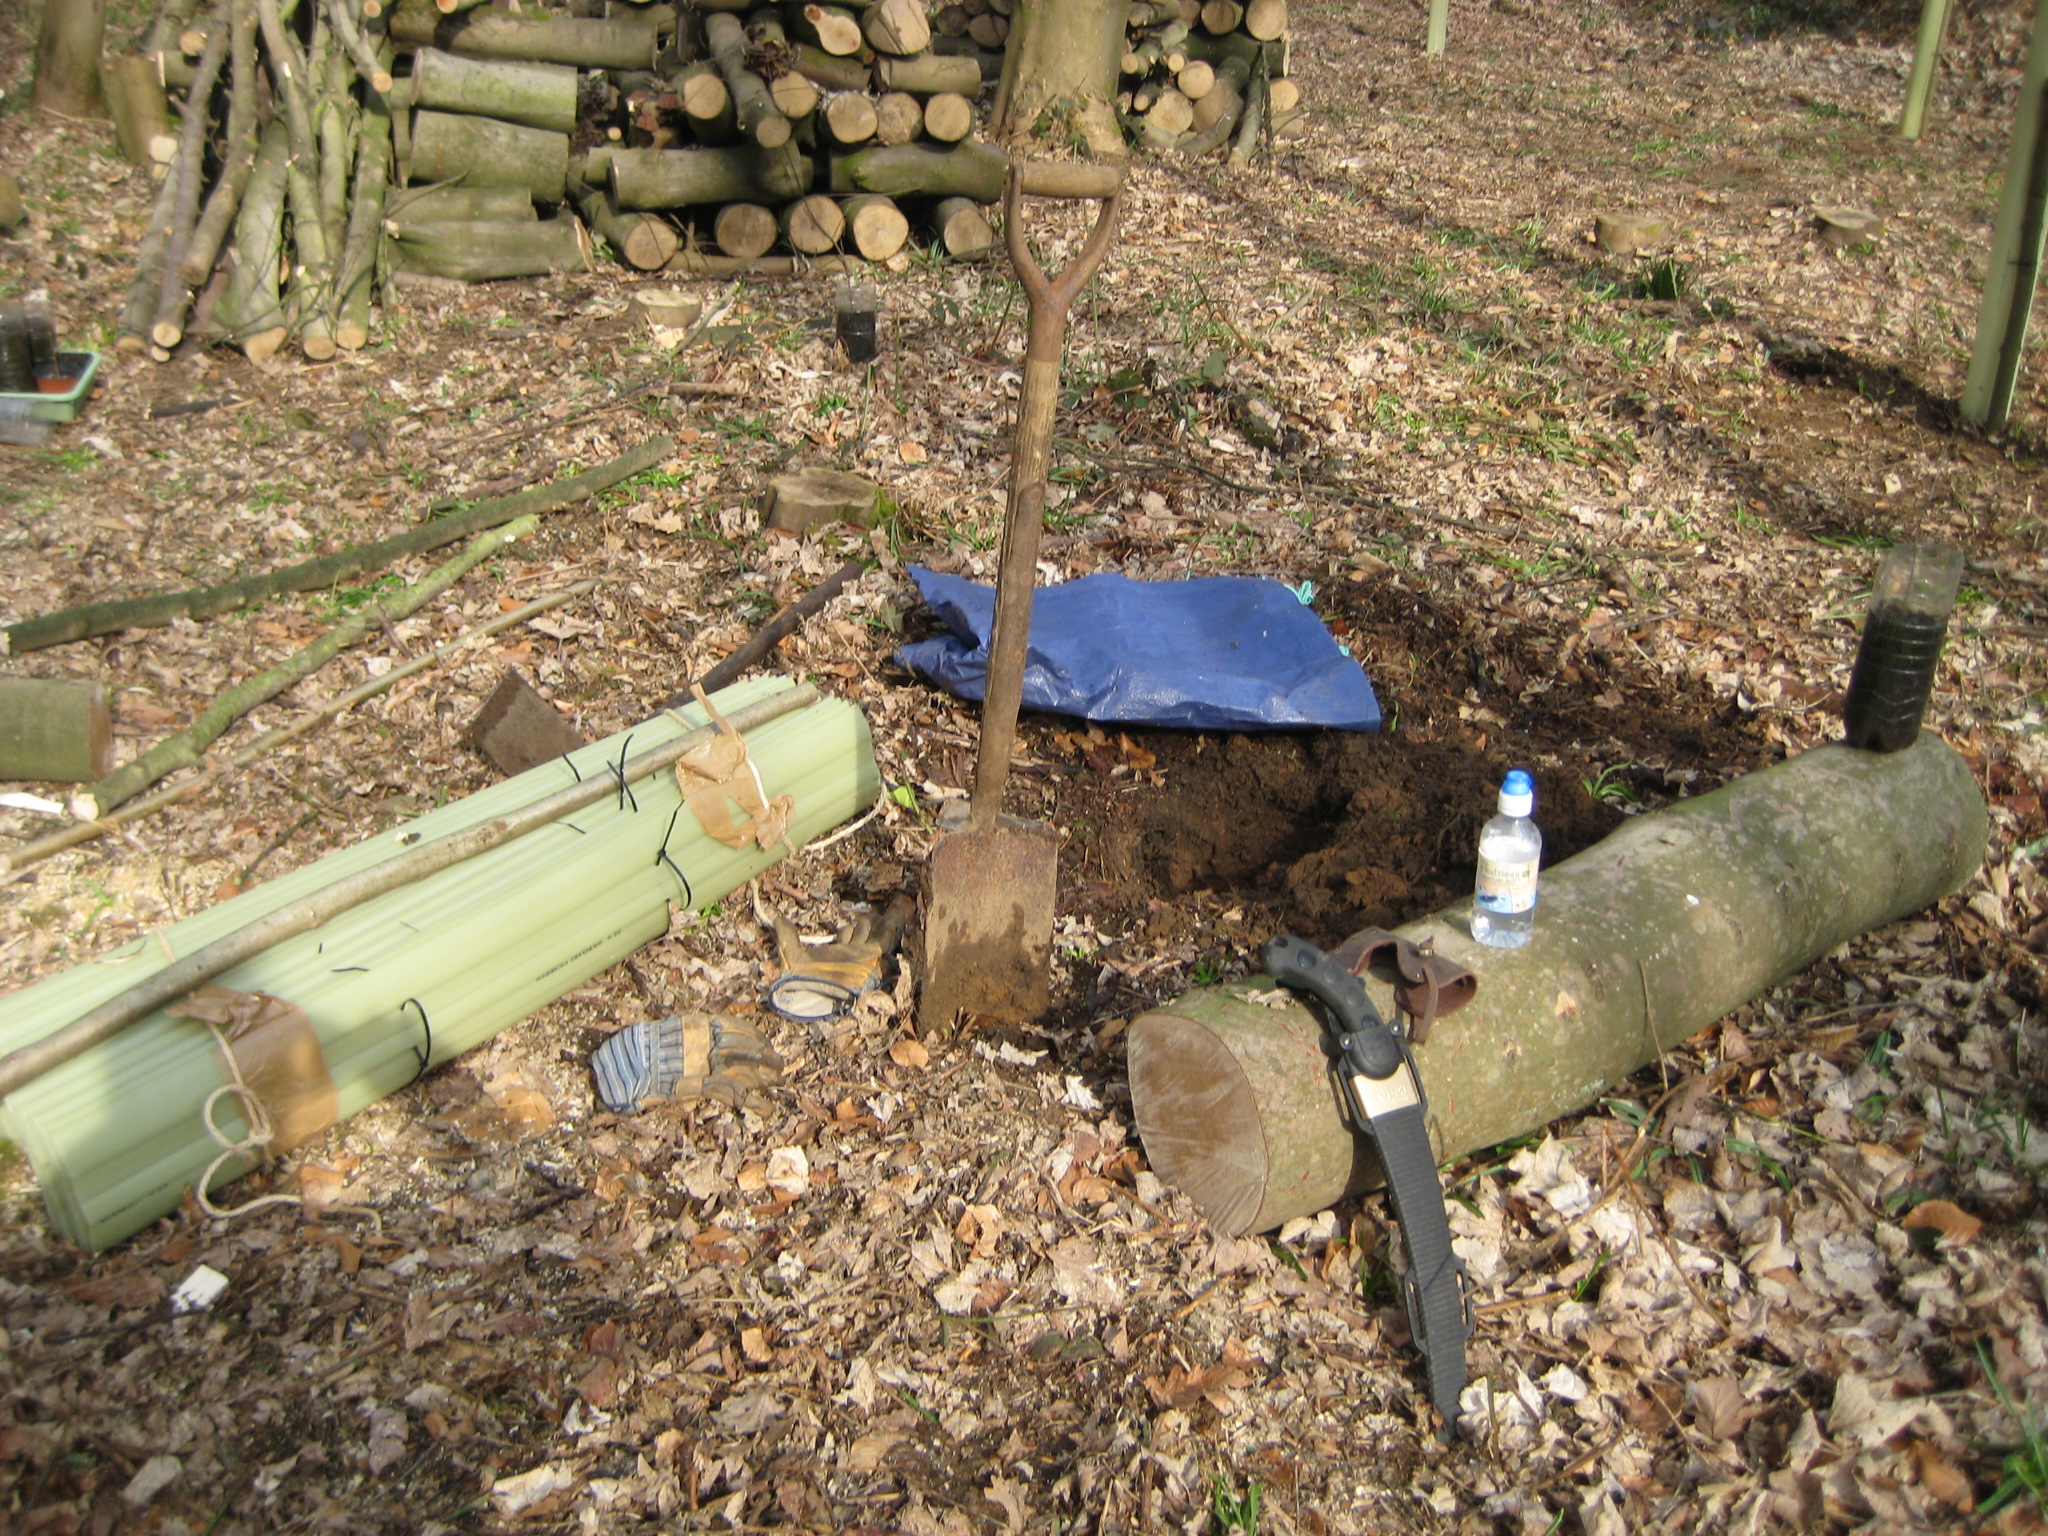
We started planting the new hazel but I ran out of the plastic tree shelters, so Zoe cut up pieces of plastic netting to wrap around them, secured with a stake. Actually they might be a better option than the green tubes. They are less obtrusive to the eye, let in more light and fresh air and won’t get bunged up with leaves. The tube ones do act like mini greenhouses though and might encourage faster, though weaker, growth. Interesting to see how they compare in a few years.
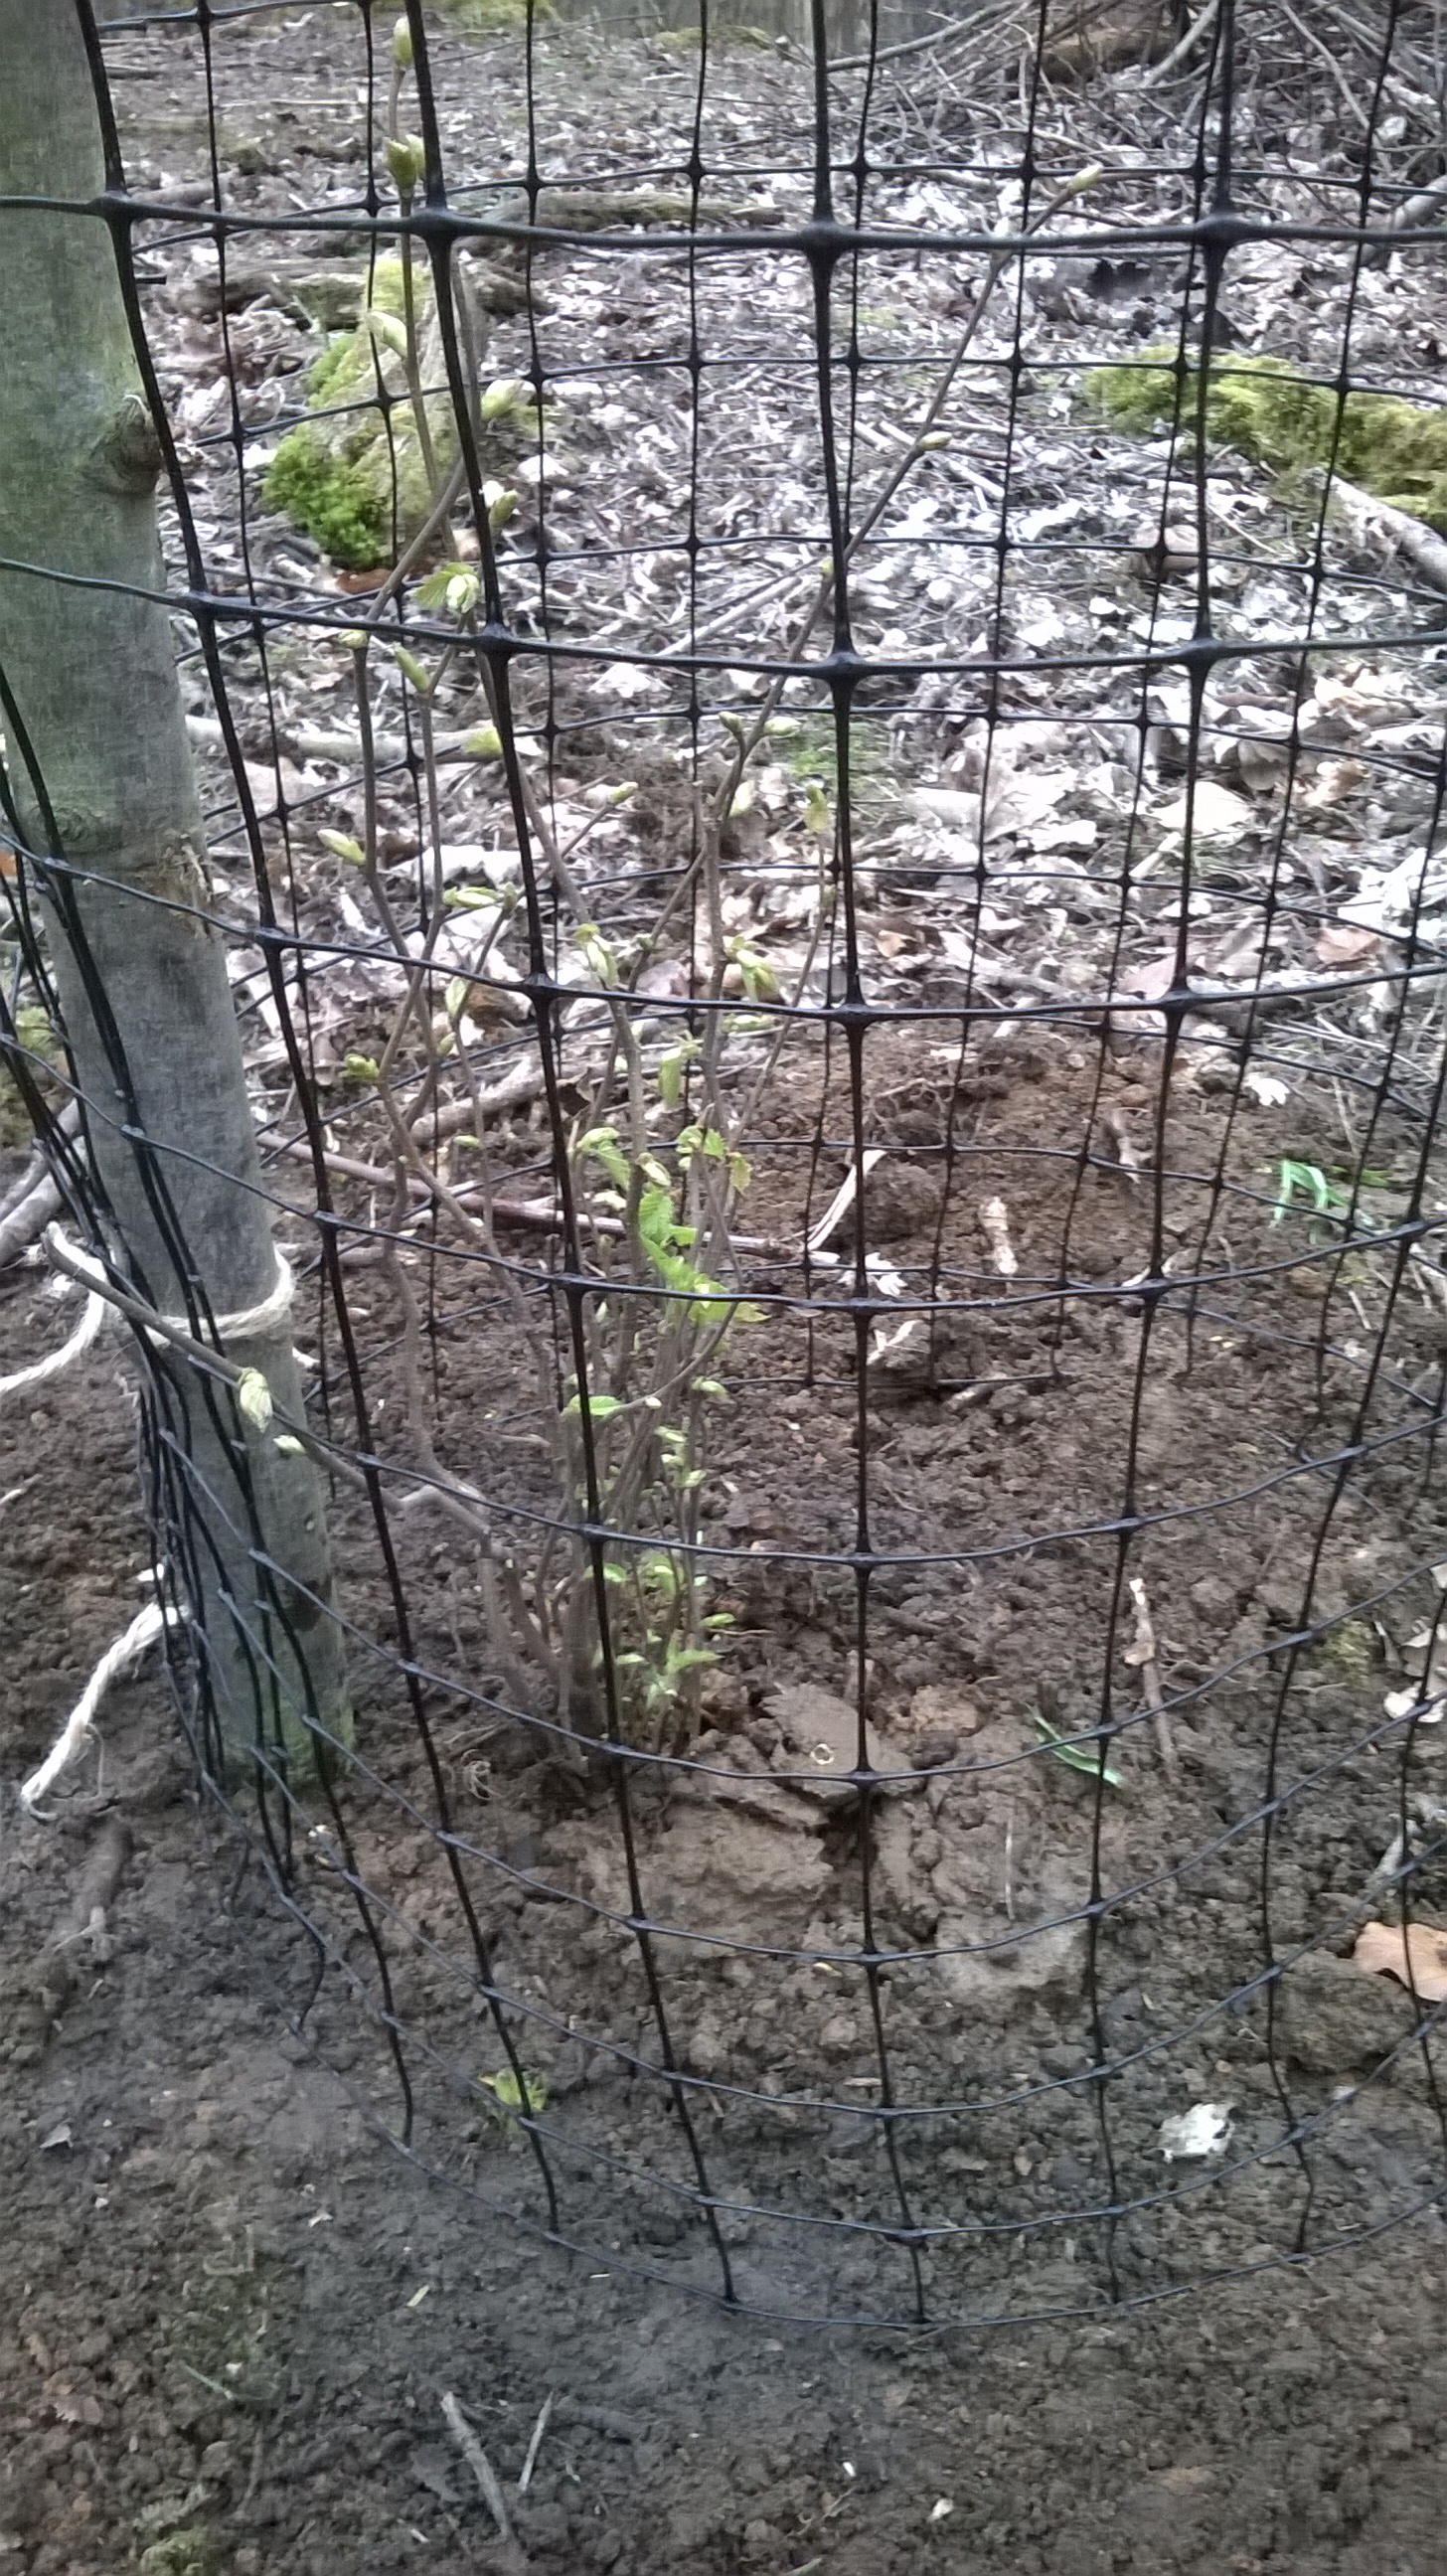
Netting tree guards cut off a roll.

Netting tree guards cut off a roll.

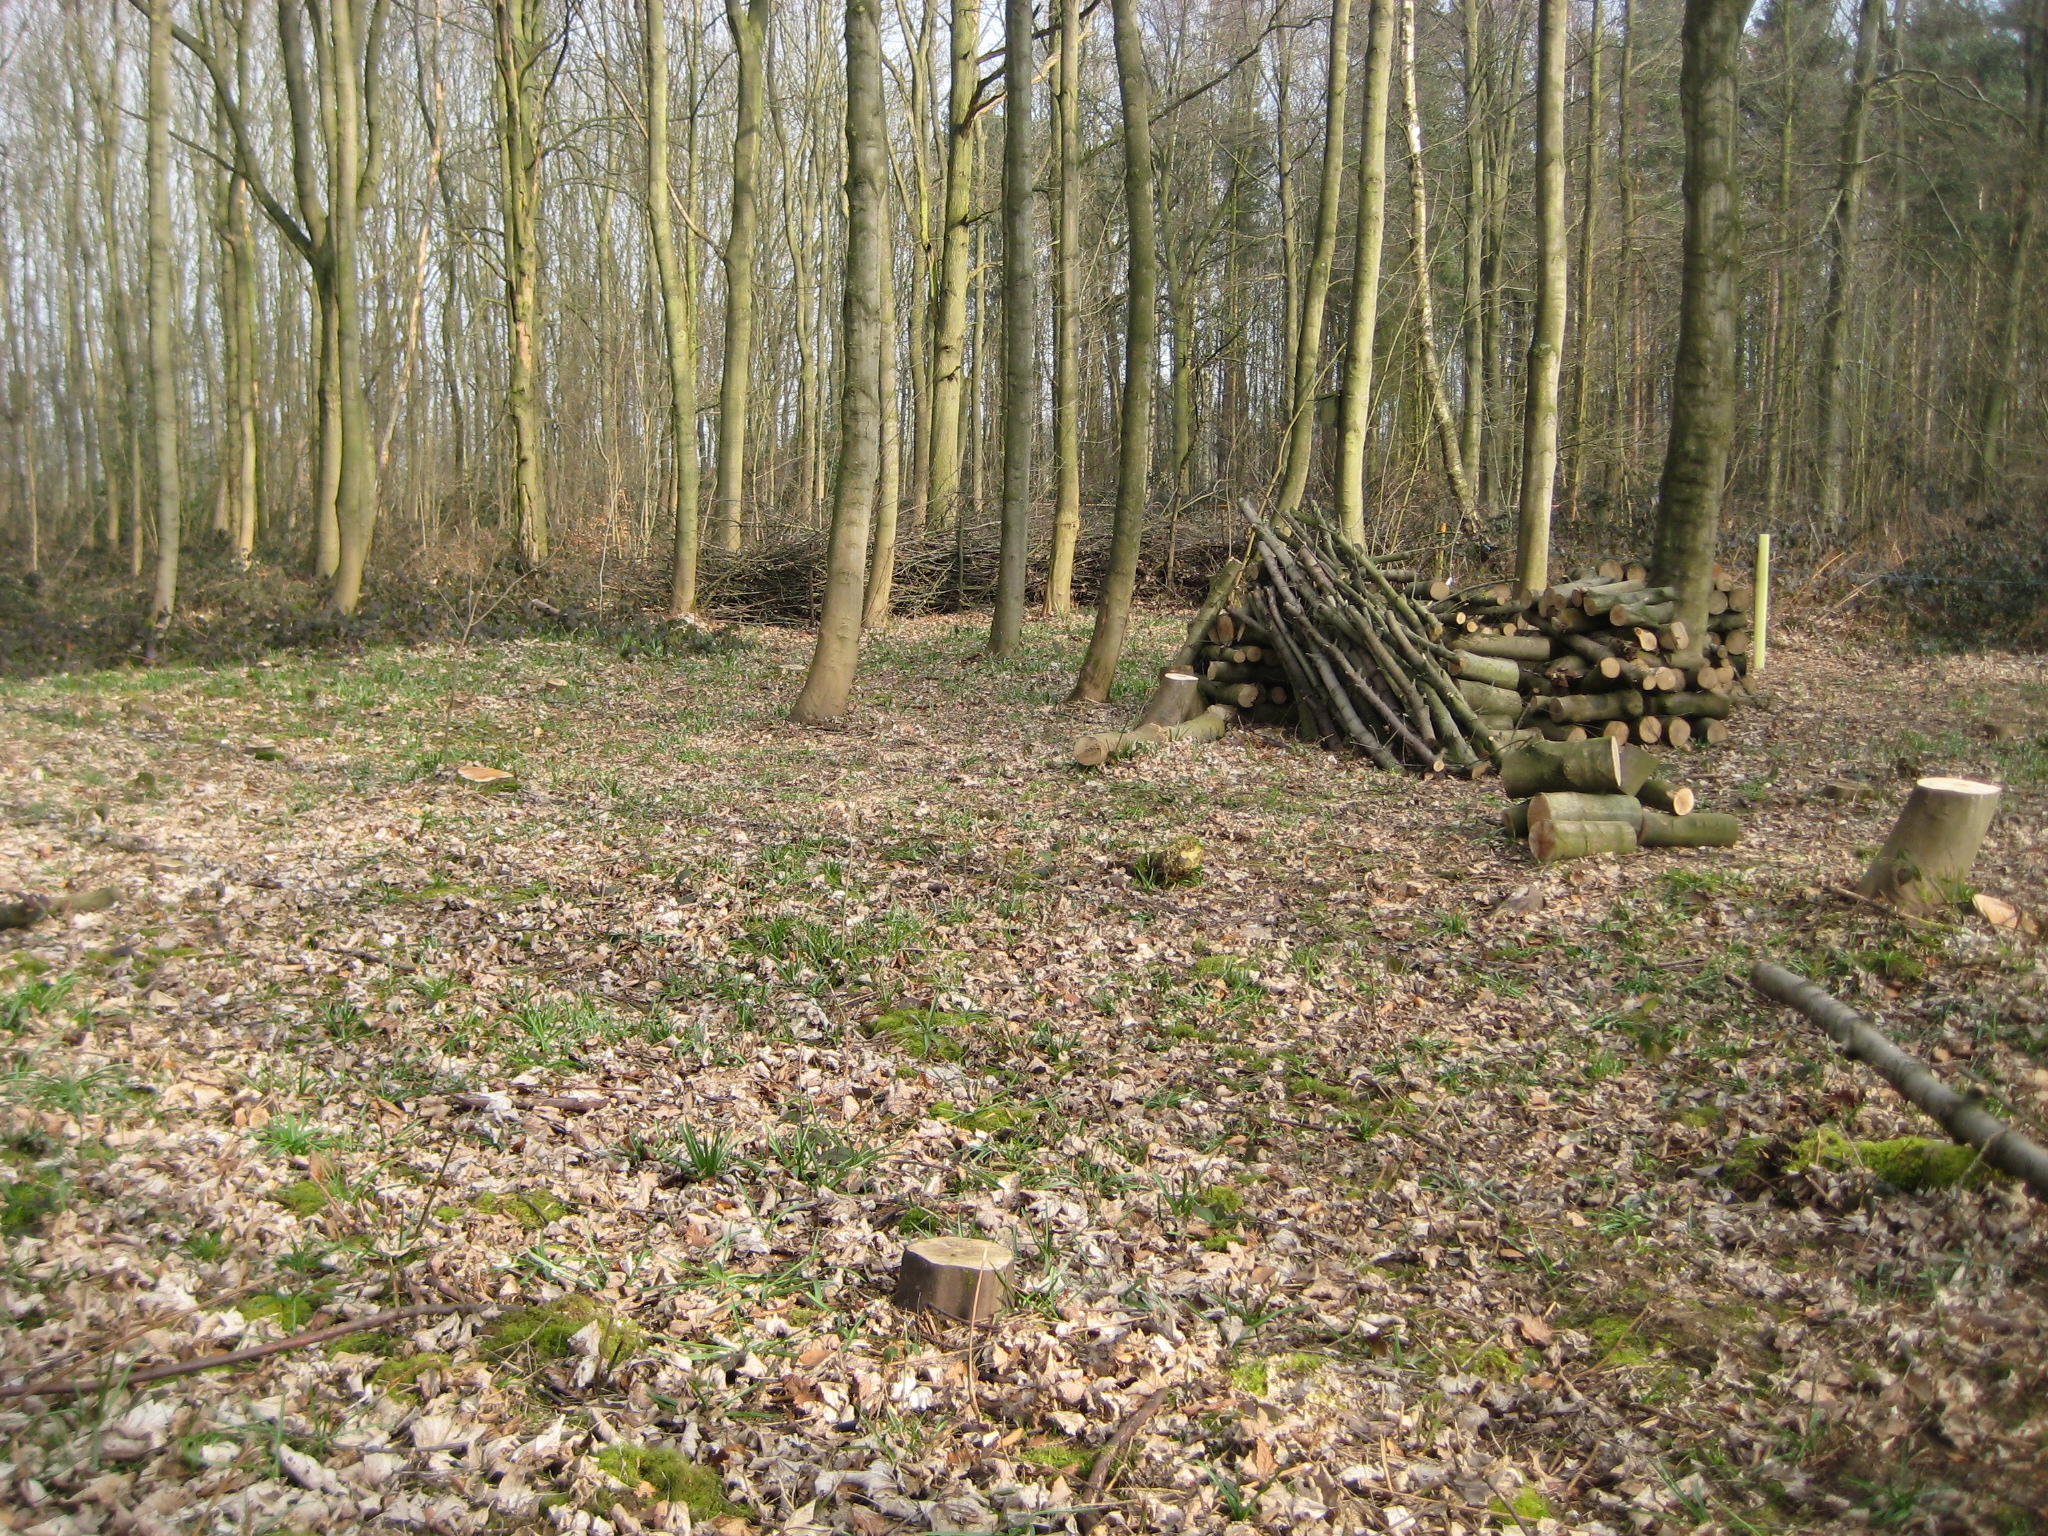
The afternoon was pretty hard graft for the both of us and I couldn’t have got it all done without my hardworking assistant, so a big thanks to her. I really wanted to get those plants in before we left and we did it. That corner is looking very good now, mostly clear of brash with just a few large branches to cut up and remove. The new plants have nicely filled a lot of the spaces between the old cut-back hazel stools, giving me a fairly dense area of about thirty trees in total, spaced roughly two metres apart. I can’t wait to see how it’s going to look in a few years time when they all start to fill out. It will be transformed. I’ll take some more photos next time.
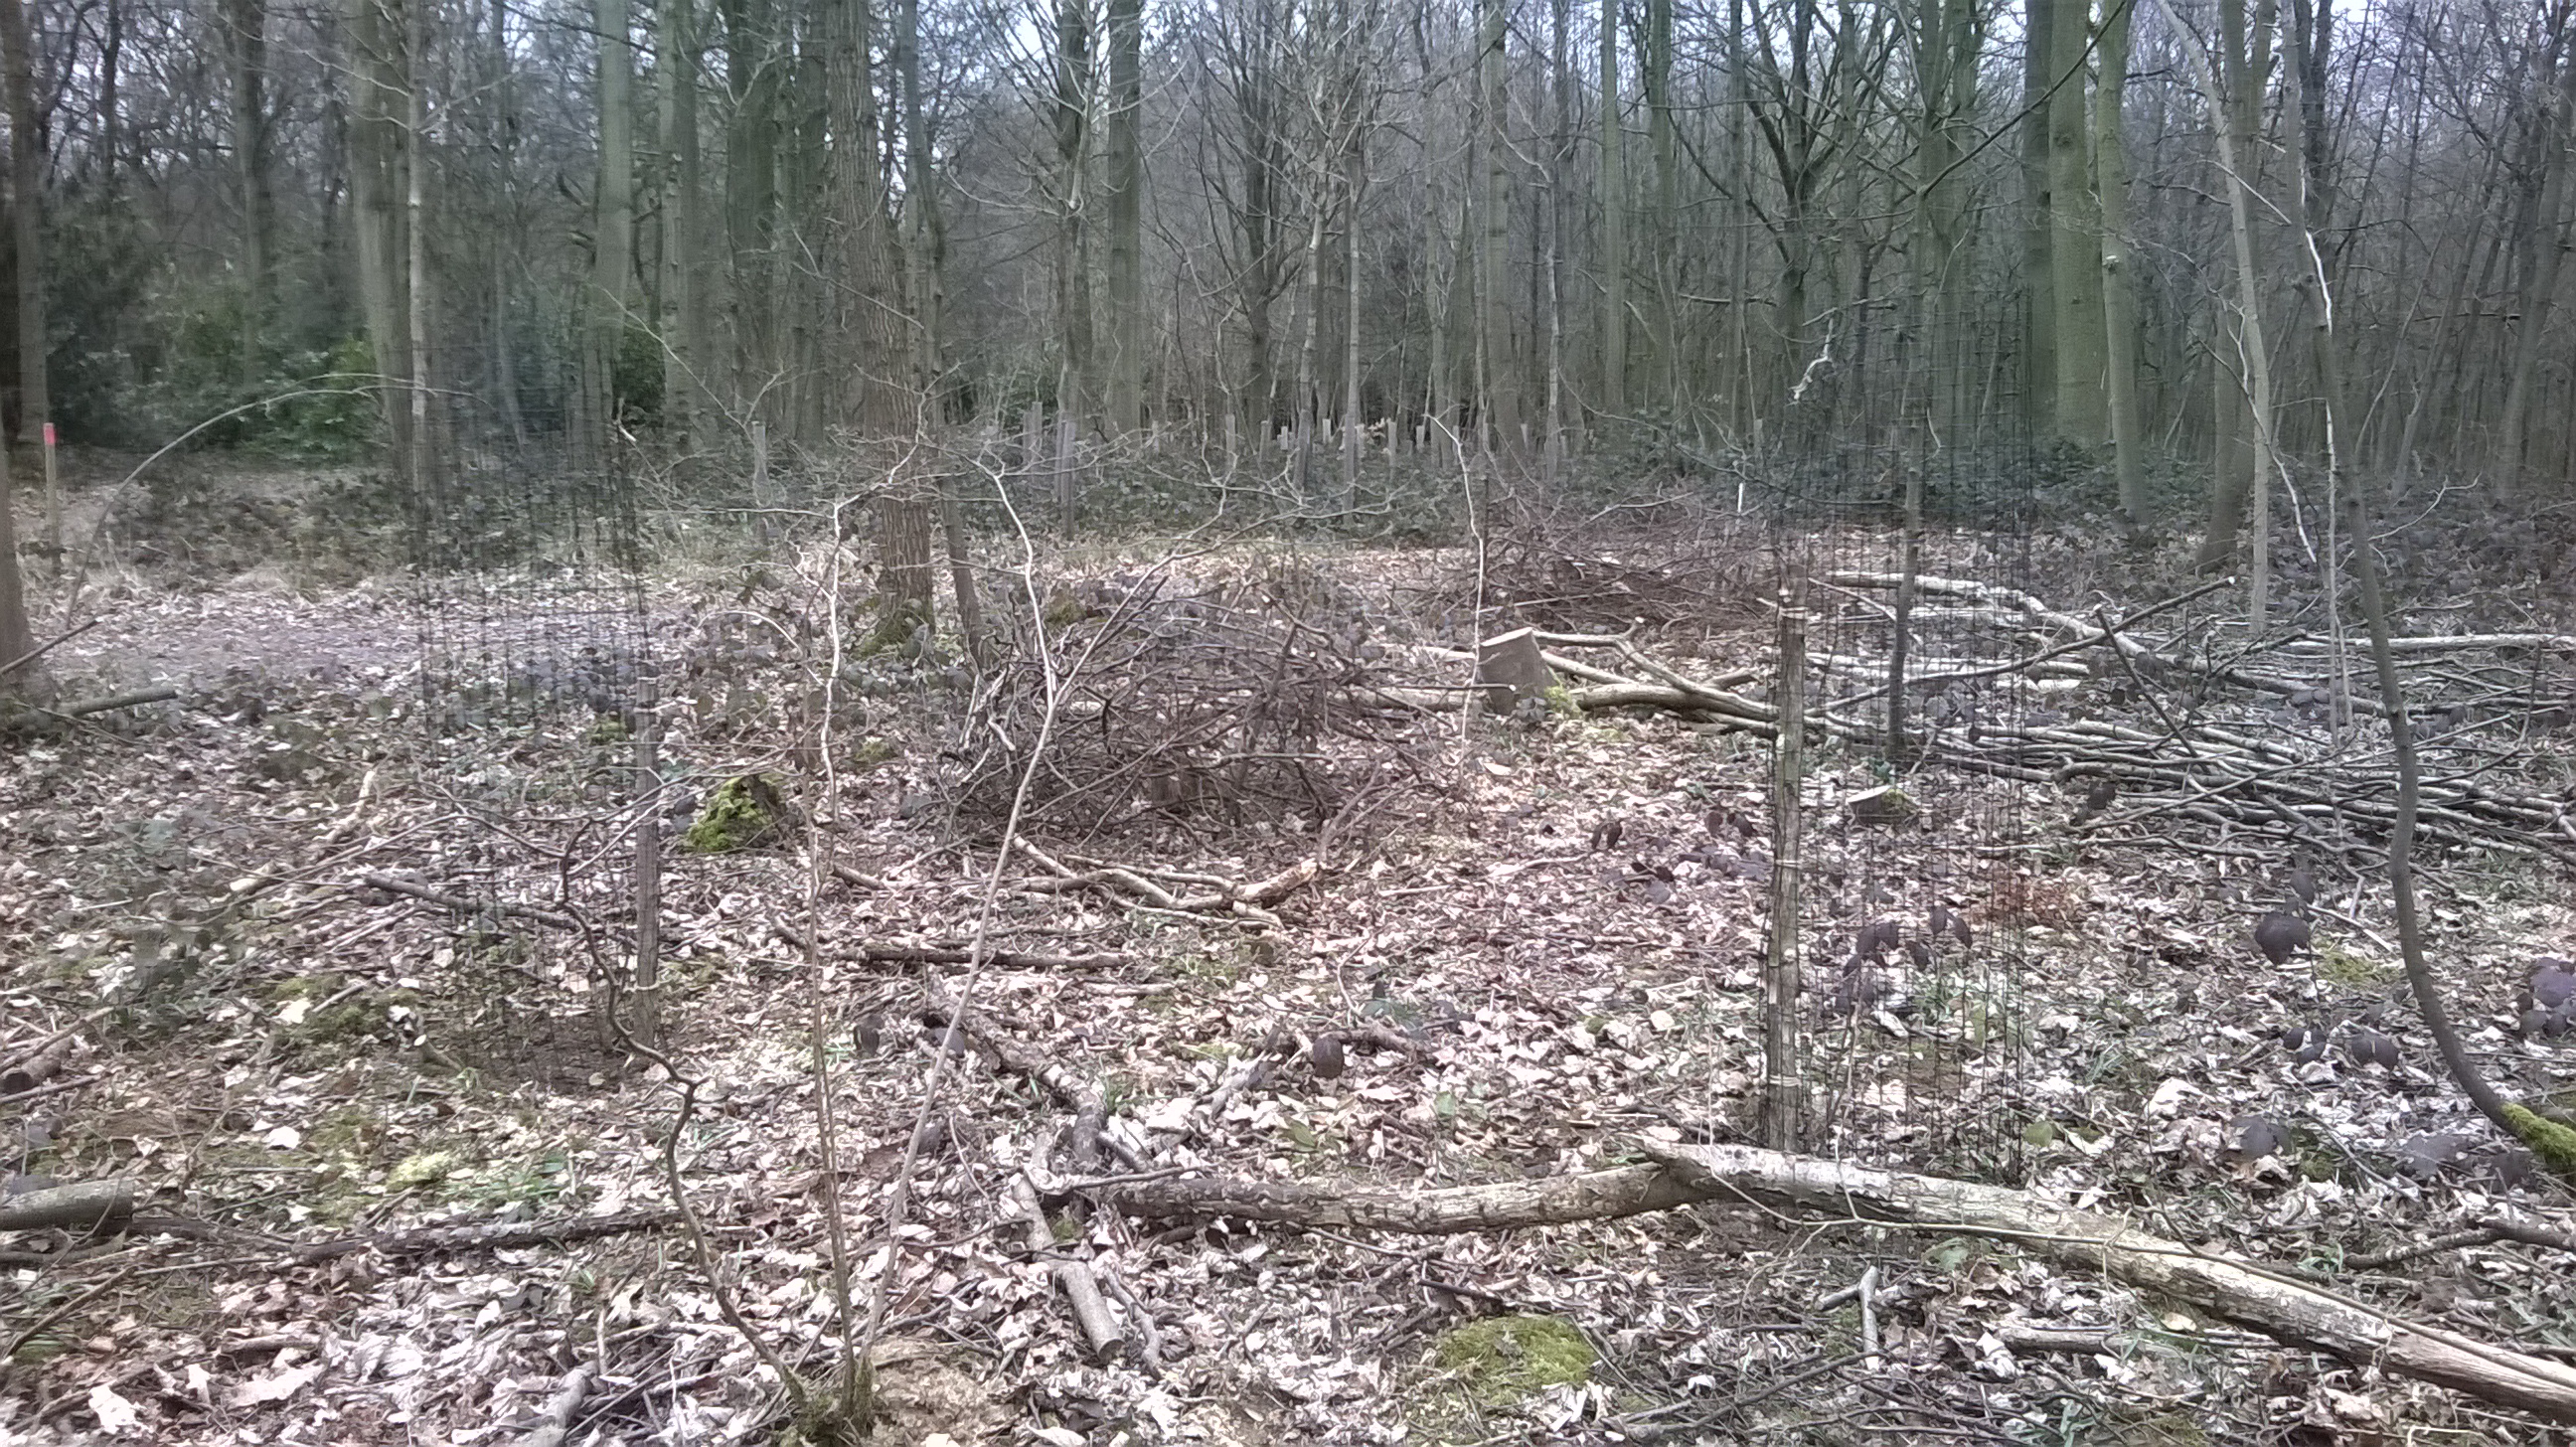
Part of the newly planted hazel coupe
Part of the newly planted hazel coupe

Leave a comment

What Robin said!

Just a quick update. A few people have asked about what Robin from the Woodland Trust said on his visit. Well I didn’t include it in my post as it was a bunch of small specific issues that I didn’t think would be of sufficient interest for my readers. But I know some folks are just curious and it is a little bit frustrating for them not to know. Like dangling a carrot then pulling it away. So this is the gist of it. Firstly I wanted him to be able to see the progress I’d made based on his initial advice a year ago. He was pleased with my efforts, it’s not easy for one man on his own to make big steps forward and actually, from the start, his advice was do do things gradually. To make sweeping changes in a short time can be damaging to other things – eg removing too much canopy cover can destroy the delicate balance of light and shade that mosses, lichens and fungi might need.

We had a good walk about looking at certain areas. I showed him a few interesting things I had found, like a weird white fungi growing on a dead stump. As we explored I would ask if I should cut this or that tree down, how I might get a certain tree down without it getting hung up, what I should replant with, etc. He pointed out a small area where there were several hazel trees that had could be re-coppiced and benefit from a little sycamore thinning. I hadn’t noticed that one. It was just a general catch-up session and helpful for me to know I was not making any poor decisions or unfavourable changes to my woods.

I’m planning to go again tommorrow. I bought about 10 bare-rooted hazel saplings, so they need to go in as soon as possible. I’ll put some in the area I’ve just coppiced to fill in a few gaps and increase stock density and maybe a few down amongst the new oaks to add more diversity.


Leave a comment

Planting my baby oak trees

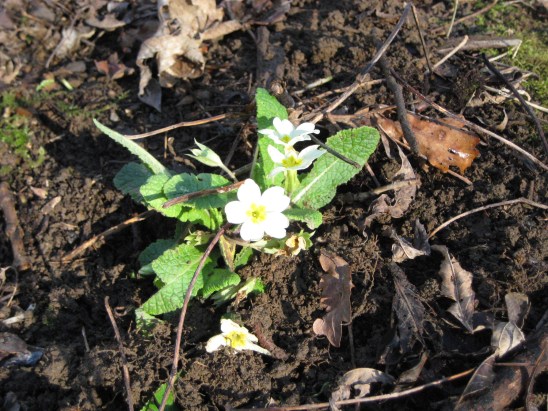
I collected some acorns from my local woods just over two years ago and planted them in pots. I have about twenty baby oak saplings now and was keen to get them in soon as spring is almost here. Having completed the sycamore thinning in the N.E. corner and tidied up last visit, I was keen to get there this weekend. The weather was fantastic, mild, dry and bright. I spotted the first few wood anemone flowers. As yet the vast army of them are still just emerging and will cover huge areas soon but for now there are just one or two to brighten the day.

First wood anemone

First wood anemone

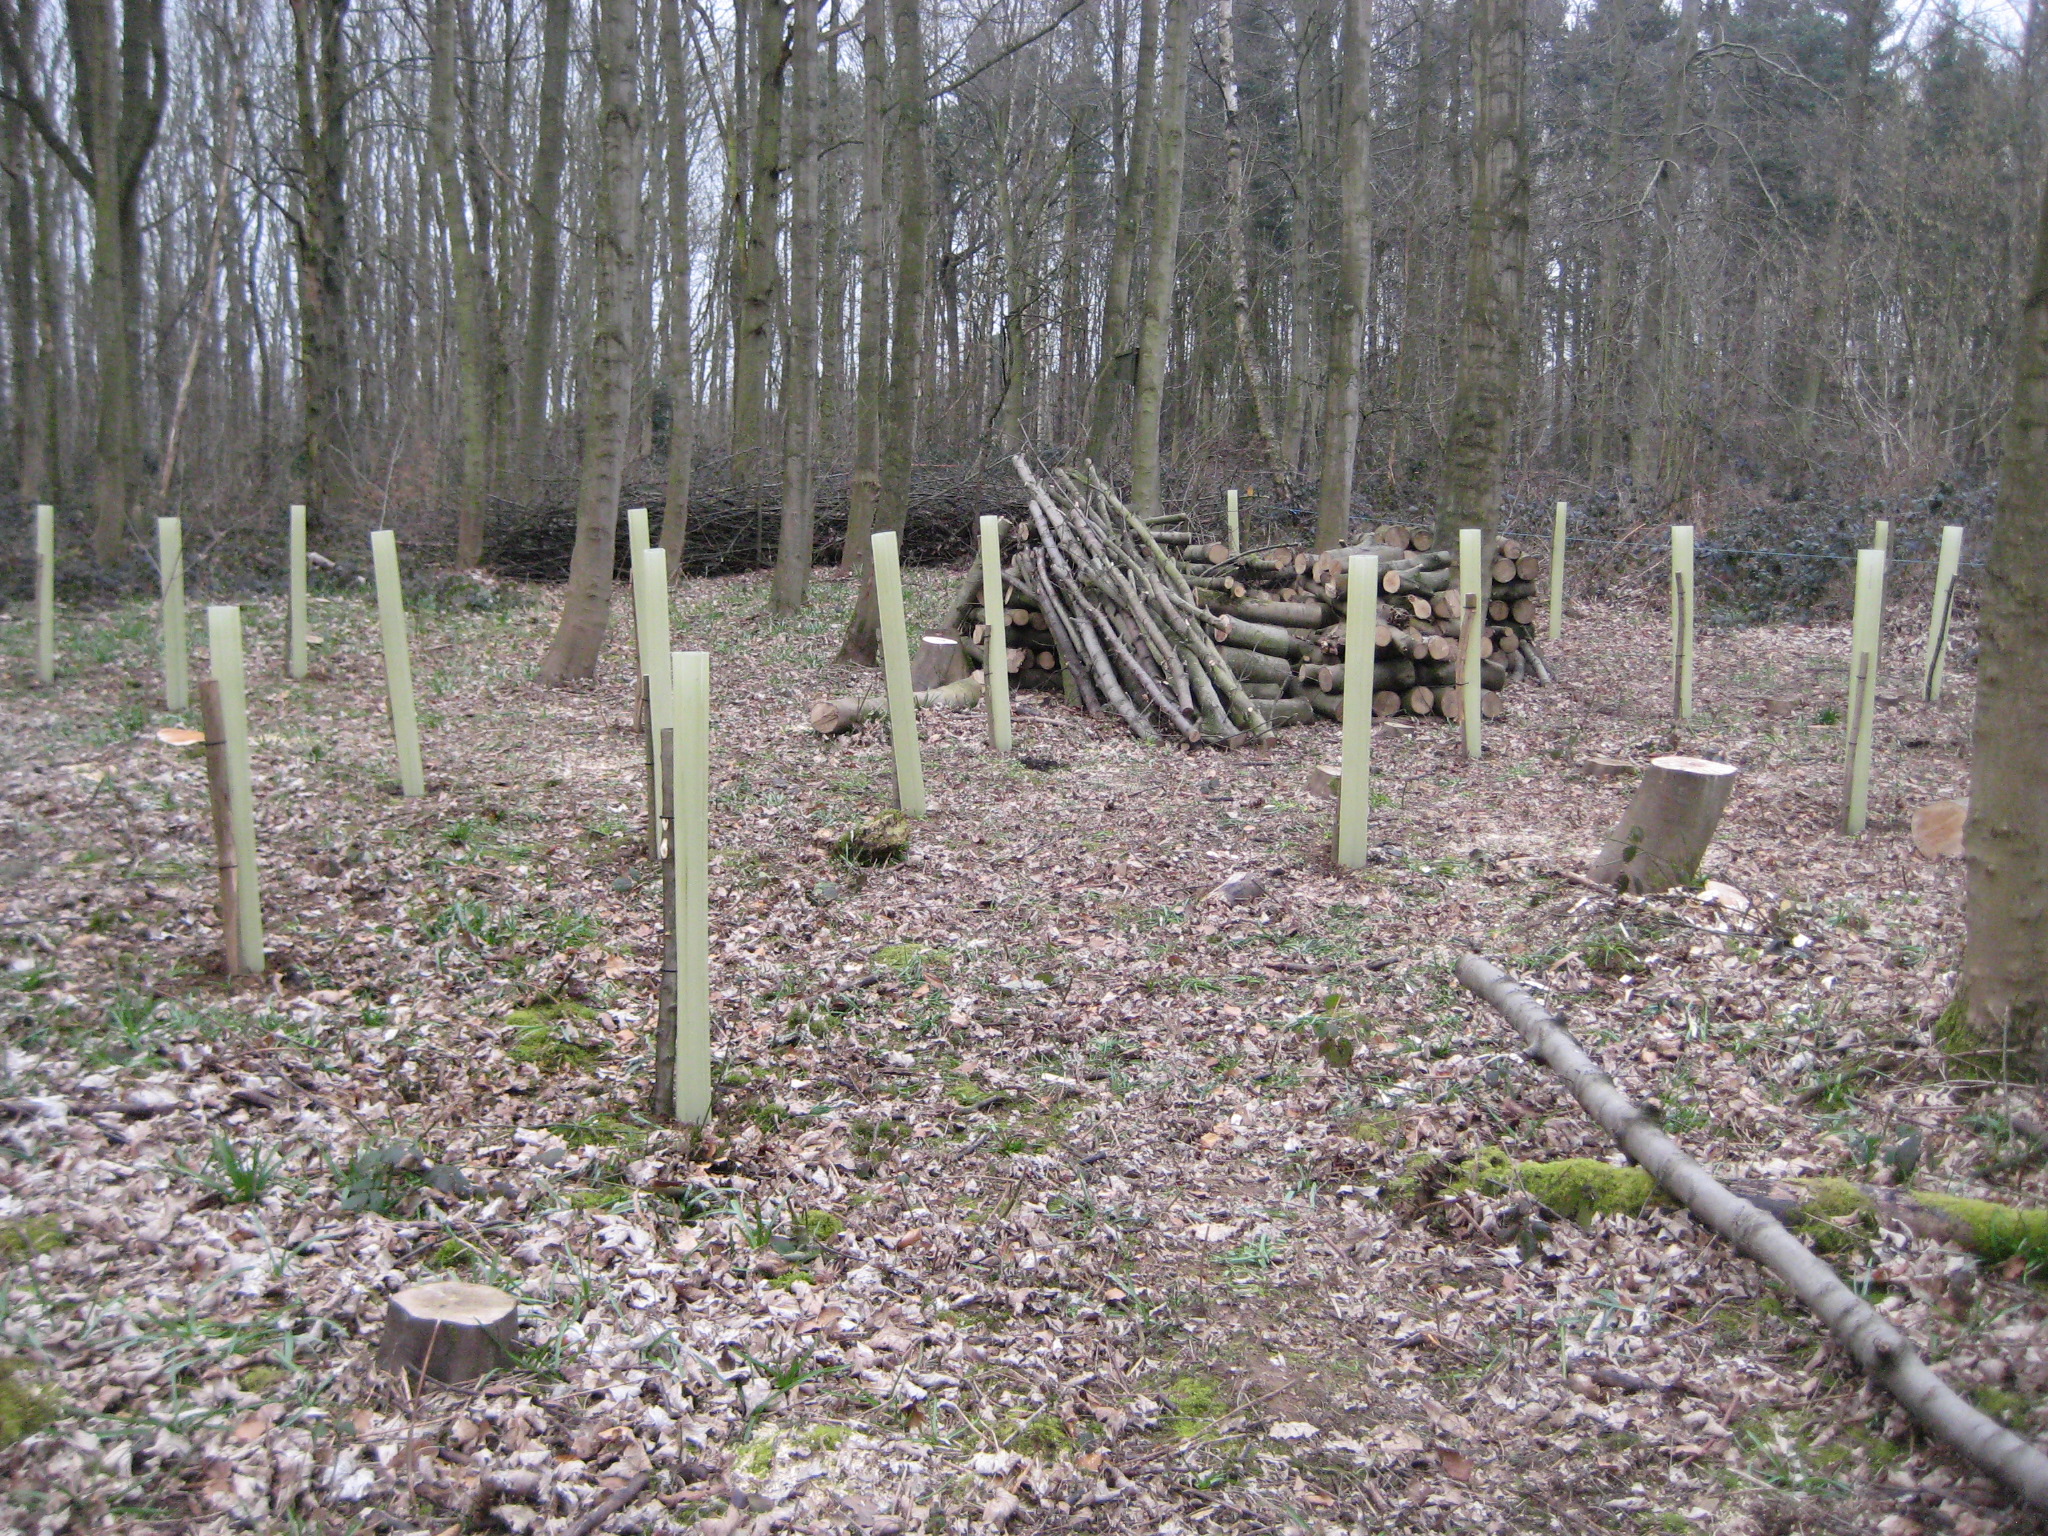
First job was to find enough suitable supporting stakes from the hazel and sycamore branches I had previously cut down and point them up. Using these I loosely stuck them where I thought the trees could go, roughly two metres apart aiming for a random pattern. Some I put a little closer to try to emulate a more natural look.

Work in progress

Work in progress


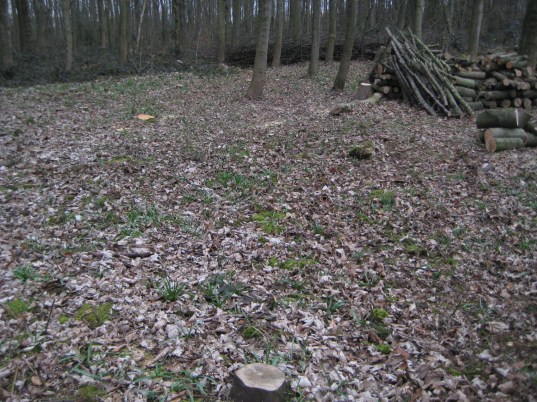
I cleared a small area of weeds around each spot, dug a small hole, planted the tree then banged in the stake to hold up the plastic tree shelter. These are important to protect the baby trees from deer, rabbits and voles which could easily destroy them in seconds. They also act as mini greenhouses and encourage more rapid growth. The down side is that leaves and debri tend to drop down into them. Once the trees emerge and make some decent height they will be removed but I guess that’s going to be at least 5 years. It was pretty hard work and took up the majority of my day but I cam away very satisfied. Here’s the before and after photos.
before
and after

and after


I had another go at filming the birds on the feeders with my new trail camera. Sorry to say it was another failure. I placed it further away this time so it would be in focus. Checked I had set it to video and got a short piece of me walking around the feeder so was confident I had it right. I left it all day, moving it to another spot at one point but there was virtually nothing recorded. Don’t know what I’m doing wrong yet, need to play with it some more.
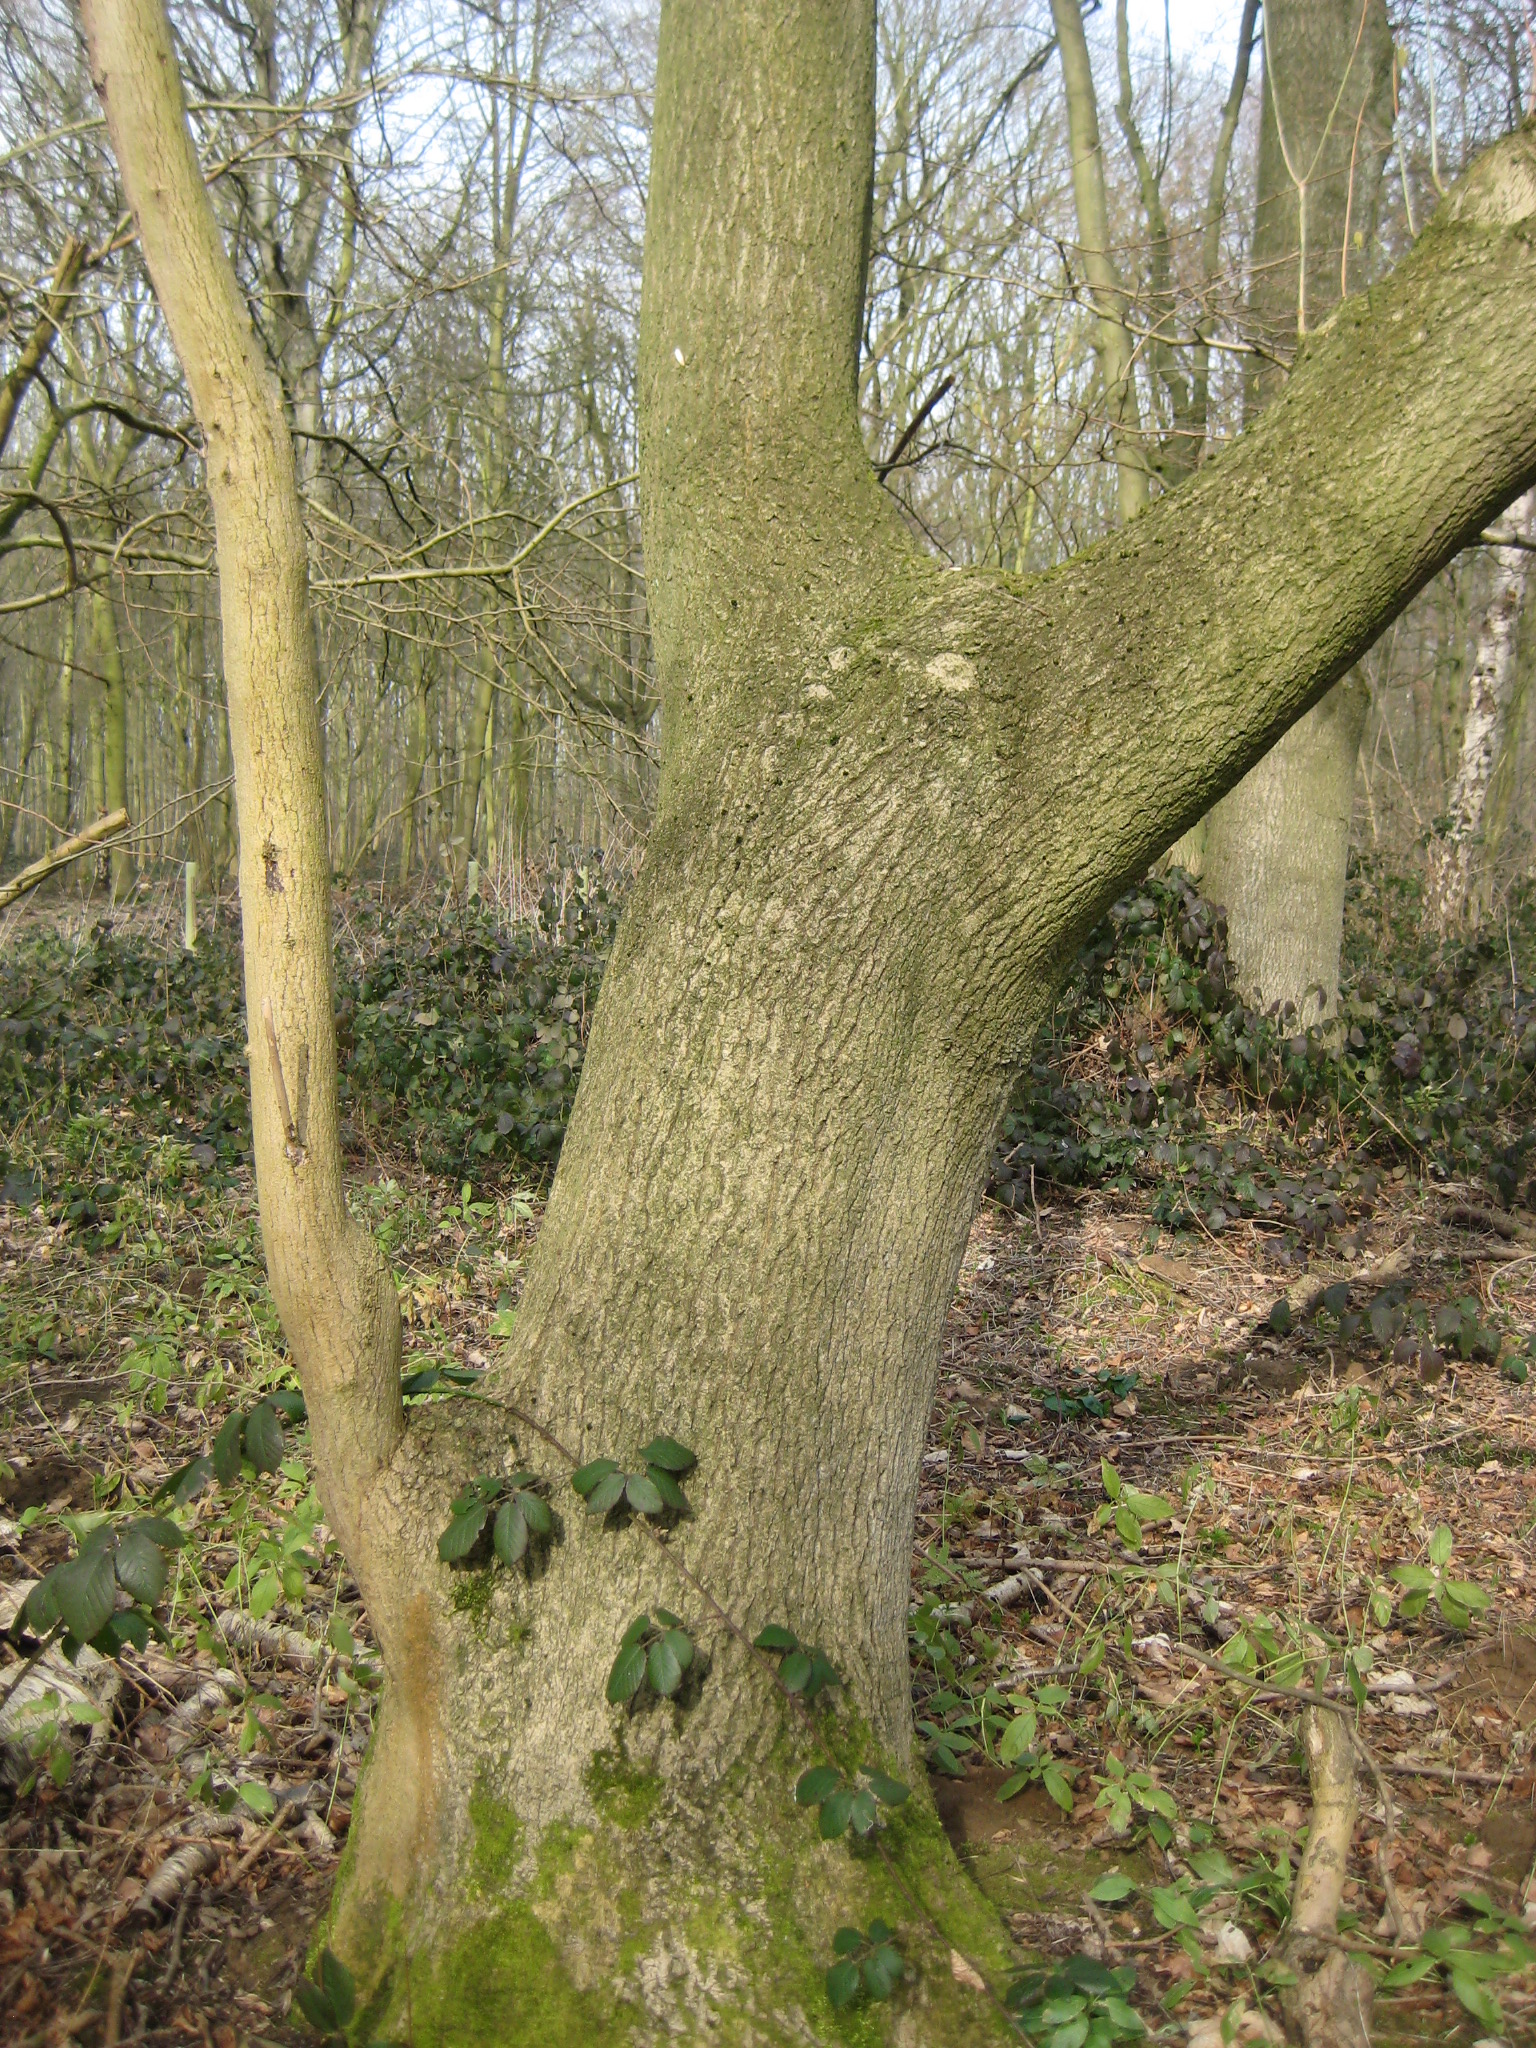
During my lunch break I had a wander around and came across this lovely old ash tree that has forked and has a very rounded cruck where they meet. The boy came out in me and I found myself wanting to climb it and sit in it and enjoy the higher viewpoint. It’s only about six or seven feet up but I needed to place some long logs against it to act as a ladder.
Forked ash tree

Forked ash tree


It felt really good to be sat in it and I decided at some point I’ll make short rustic ladder so it can be accessed easily and make it a bit of a feature. I can imagine me sitting there with a mug of coffee, laying back on the sloping trunk and taking in the peace and tranquility. Even at that short height, the views of the wood open up a little more. Owning a woodland isn’t just about work. Somebody advised me at the beginning to make sure I took time out just to enjoy it. I can endorse that.


Leave a comment

Tidying up and reviewing progress

Yesterday morning was a beautiful cold sunny one, ideal for a day in my woods. I’d arranged to meet Robin (apt name) from the Woodland Trust for a review of the work I’ve done and moving forward with my plans. The WT have a project to help small woodland owners to restore their ancient woodland and have given lots of free advice on looking after it and improving it. Robin made a management plan for me shortly after I took ownership and I thought it would be good for a re-visit to see how I am progressing and ask a few questions on future plans. We agreed to meet around 11am so I had a couple of hours to do some jobs, have a brew and a walkabout.

IMG_6053

I had several aims. Plant up some wild primroses and wood sorrel I had acquired, erect a new bird nest box I made from a sycamore log and try out my new trail camera. The main task was to clear up the brash I had left lying about after my last thinning session, ready for some new planting very soon. Primroses already grow here and there but in small numbers. I want to increase the variety and quantities of ground cover to make it a more interesting wood. I had about 6 plants so found suitable spots scattered around the wood to place them in. Hopefully they will multiply in future. I have not found any wood sorrel in my wood and would like a patch or two. It is an interesting culinary plant. It contains oxalic acid and when you chew it, it tastes like cooking apples.

I fixed my trailcam on a tree pointing at a bird feeder to leave it while I worked. This was my first time using it and meant as an experiment and learning curve. I brought it home again to review my results. Disappointing. I must have set it to take stills (could have sworn I selected video) and also I had it too close to the subject which is slightly blurred. Mostly the birds chose to use the feeder hole on the other side so are obscured from the camera. So a few lessons learned, will do better next time.

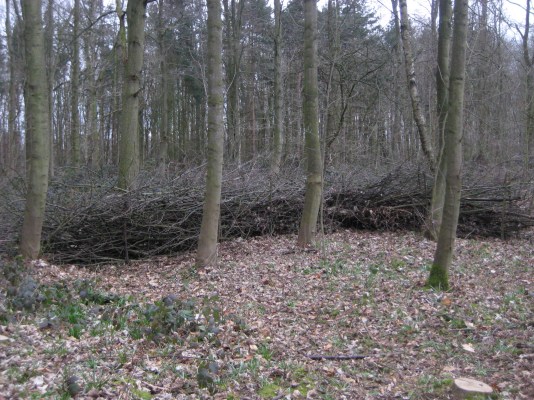
I set to and started clearing the huge piles of brash I left when I ran out of time last visit. I used it to extend the nearby dead-hedge I made a while ago. I have to say these hedges are doing their job for the small birds. There is always a robin or wren bobbing about in them. The job entailed first sawing off the banches into manageable sizes, dragging them across to the hedge and placing them between the line of retaining posts. That alone wouldn’t make a dense hedge, so the technique I have used is then to ram more branches, thick end first, between the gaps in the other ones. It’s surprising how many branches you can cram into a small space as they compress down. It’s also very hard physical work but quite satisfying. This is how it’s looking now, the extended part is on the left. The hedge forms a small barrier around the NE corner between my wood and the track.

IMG_6058.JPG

There are still a few thin tree trunks lying around that need to be cut up into logs but the whole area is looking quite tidy and ready for some new planting. The log pile has grown considerably too and will need splitting and restacking to dry out and season. That’s a job for spring, which is not far away now.

IMG_6057

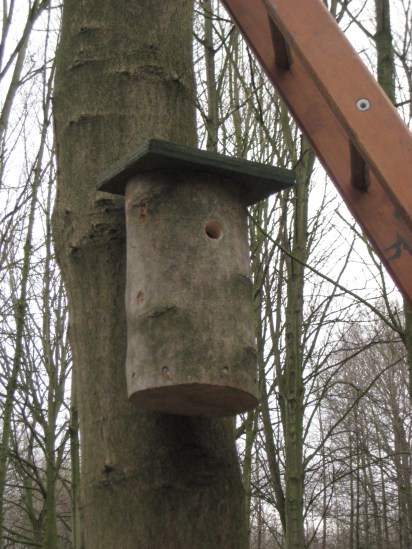
I made another bird nest box from a sycamore log. It’s an easy method if you can get the log to split where you want it and it fits in with the woodland in a natural looking way. Basically you take a freshy cut log about one foot long and 8 inches diameter. You split it lengthwise four times to create four sides and a square section left over from the middle. You then saw a piece off the bottom of the square about 2 inches thick. If you were successful in getting the side pieces to split think enough, you can then put them back together along with the bottom slice and nail it up, re-creating your log but with a hollow square section inside. Drill an entrance hole in the front and a screw hole in the back for mounting and some drainage holes in the bottom. I cut the top with a slope and made a roof from some exterior plywood and Bob’s your uncle, a nest box. Allow it to dry out a little before putting it up. It might be a bit late in the season now for birds to adopt it but we’ll see.

IMG_6054

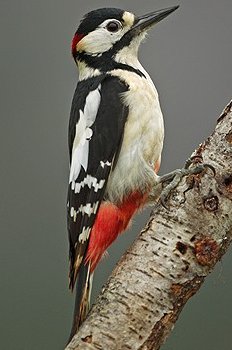
During my lunch break I sat where the bird feeders are and noticed a lot of activity. Earlier I had seen two buzzards overhead. I was rewarded with a new sighting – a greater spotted woodpecker. I had my binocs so got a good look as it worked it’s way up a tree, pecking at insects. The black and white plummage with a crimson red rump is absolutley stunning to see. Here’s a stock photo of one, I couldn’t get close enough to photograph it myself but who knows, in the future I might catch one with the trail cam. Until then – over and out.

great-spotted-male