
What a weekend! For a long time, some very good friends of mine have talked about having a blacksmithing session in my woods, combining it with an overnighter. There are my two good mates Simon (the blacksmith), Phil (trained chef and bushcrafter) and a woodland neighbour Alan (a man of too many talents to list). The weather forecast showed rain later but most of the saturday looked fine. We arrived early, parked up and got out for a chat. The woodland magic started. A tiny woodmouse appeared, apparently oblivious to us. Normally they disappear in seconds if they spot you. It went down a hole in the ground then resurfaced. It headed towards us and we stood marvelling at this beautiful tiny creature for several minutes, at one point it was centimetres away from our feet. It was to be the start of an amazing weekend.
Simon runs blacksmithing experience sessions as well as producing his own work. His speciality is small and beautiful artisan products, jewelry, and useful household, garden and bushcraft oriented accessories rather than large heavy duty forge work. His business is aptly named The Lilliput Forge. The aim was to instruct us in the basics of setting up a portable charcoal forge, some basic blacksmithing skills and the opportunity to make something useful for ourselves. Something every woodland camper finds useful are S-hooks, mainly used for suspending cooking pots over fires. That was to be our first project. Although they sound like a simple product, to make a beautiful ornate one to be proud of requires numerous skills and techniques which are the basis for making many other items. First job – set up our individual work stations and light our forges. We were using homemade bucket forges and charcoal, basically a bucket (mine was a barbecue bucket) lined with fireproof cement. A hole and tube through the side allows you to connect an air pump to blow oxygen into the base of the charcoal fire, to raise the temperature enough to heat the steel you are working with.
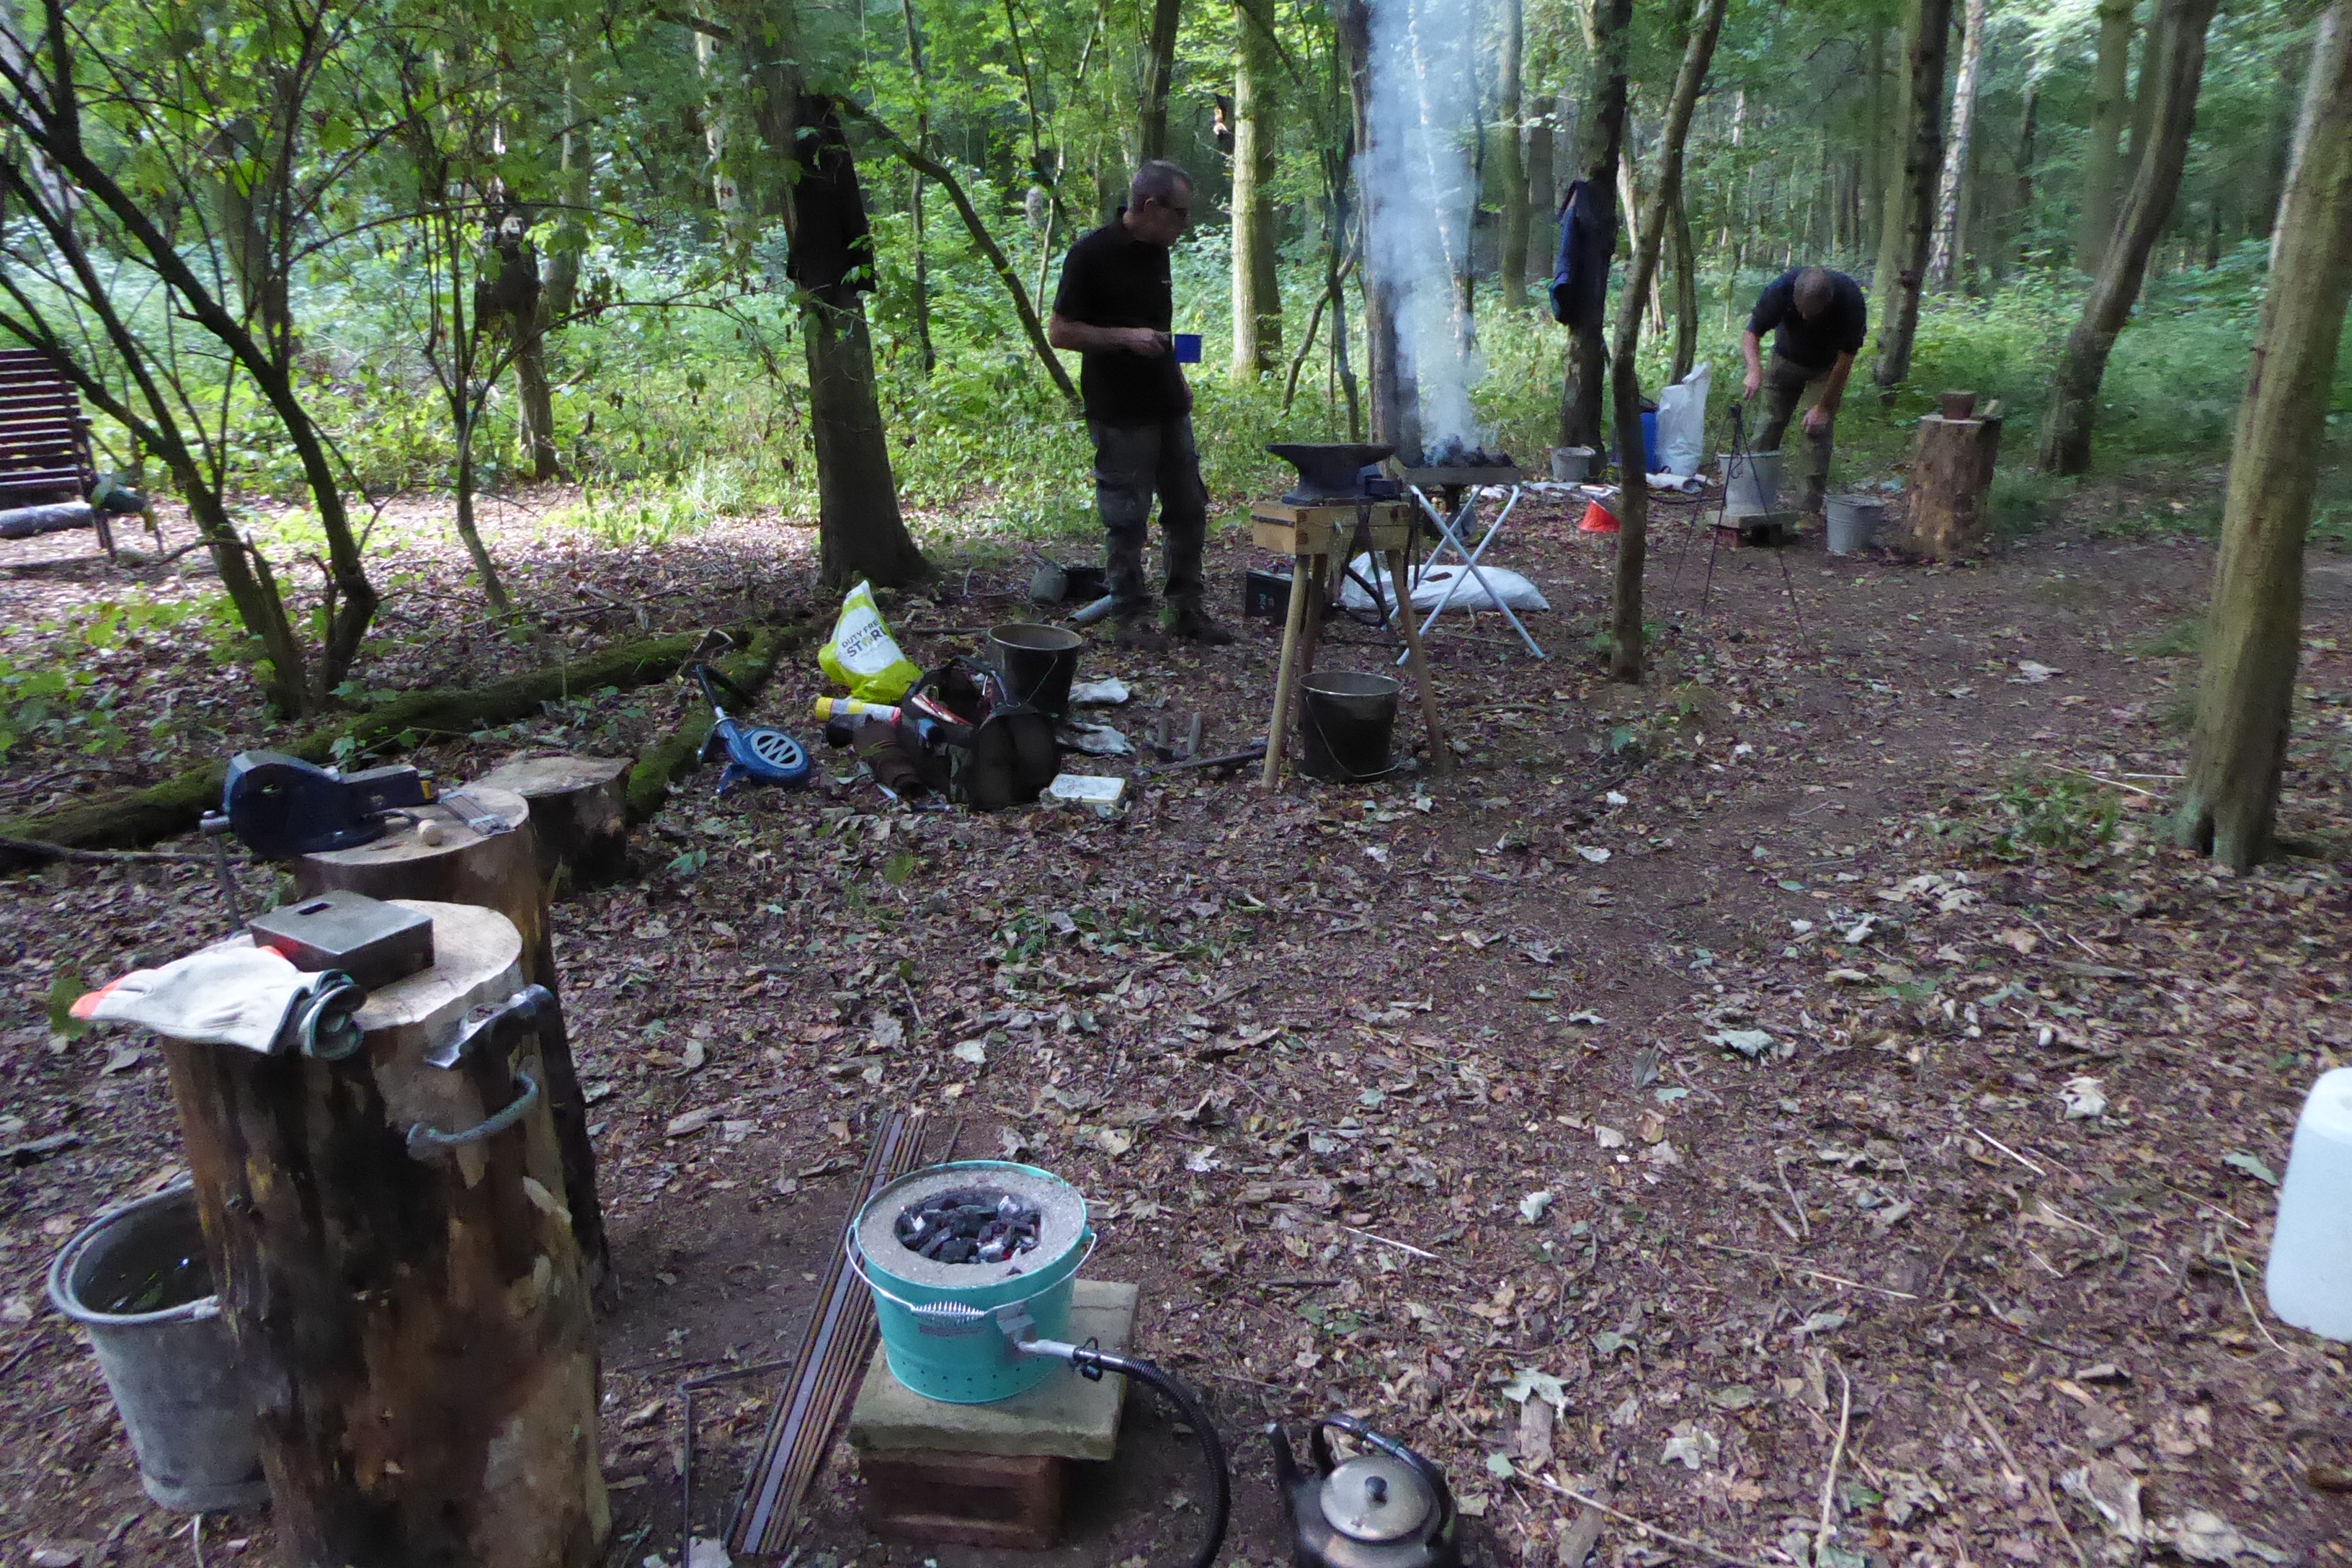
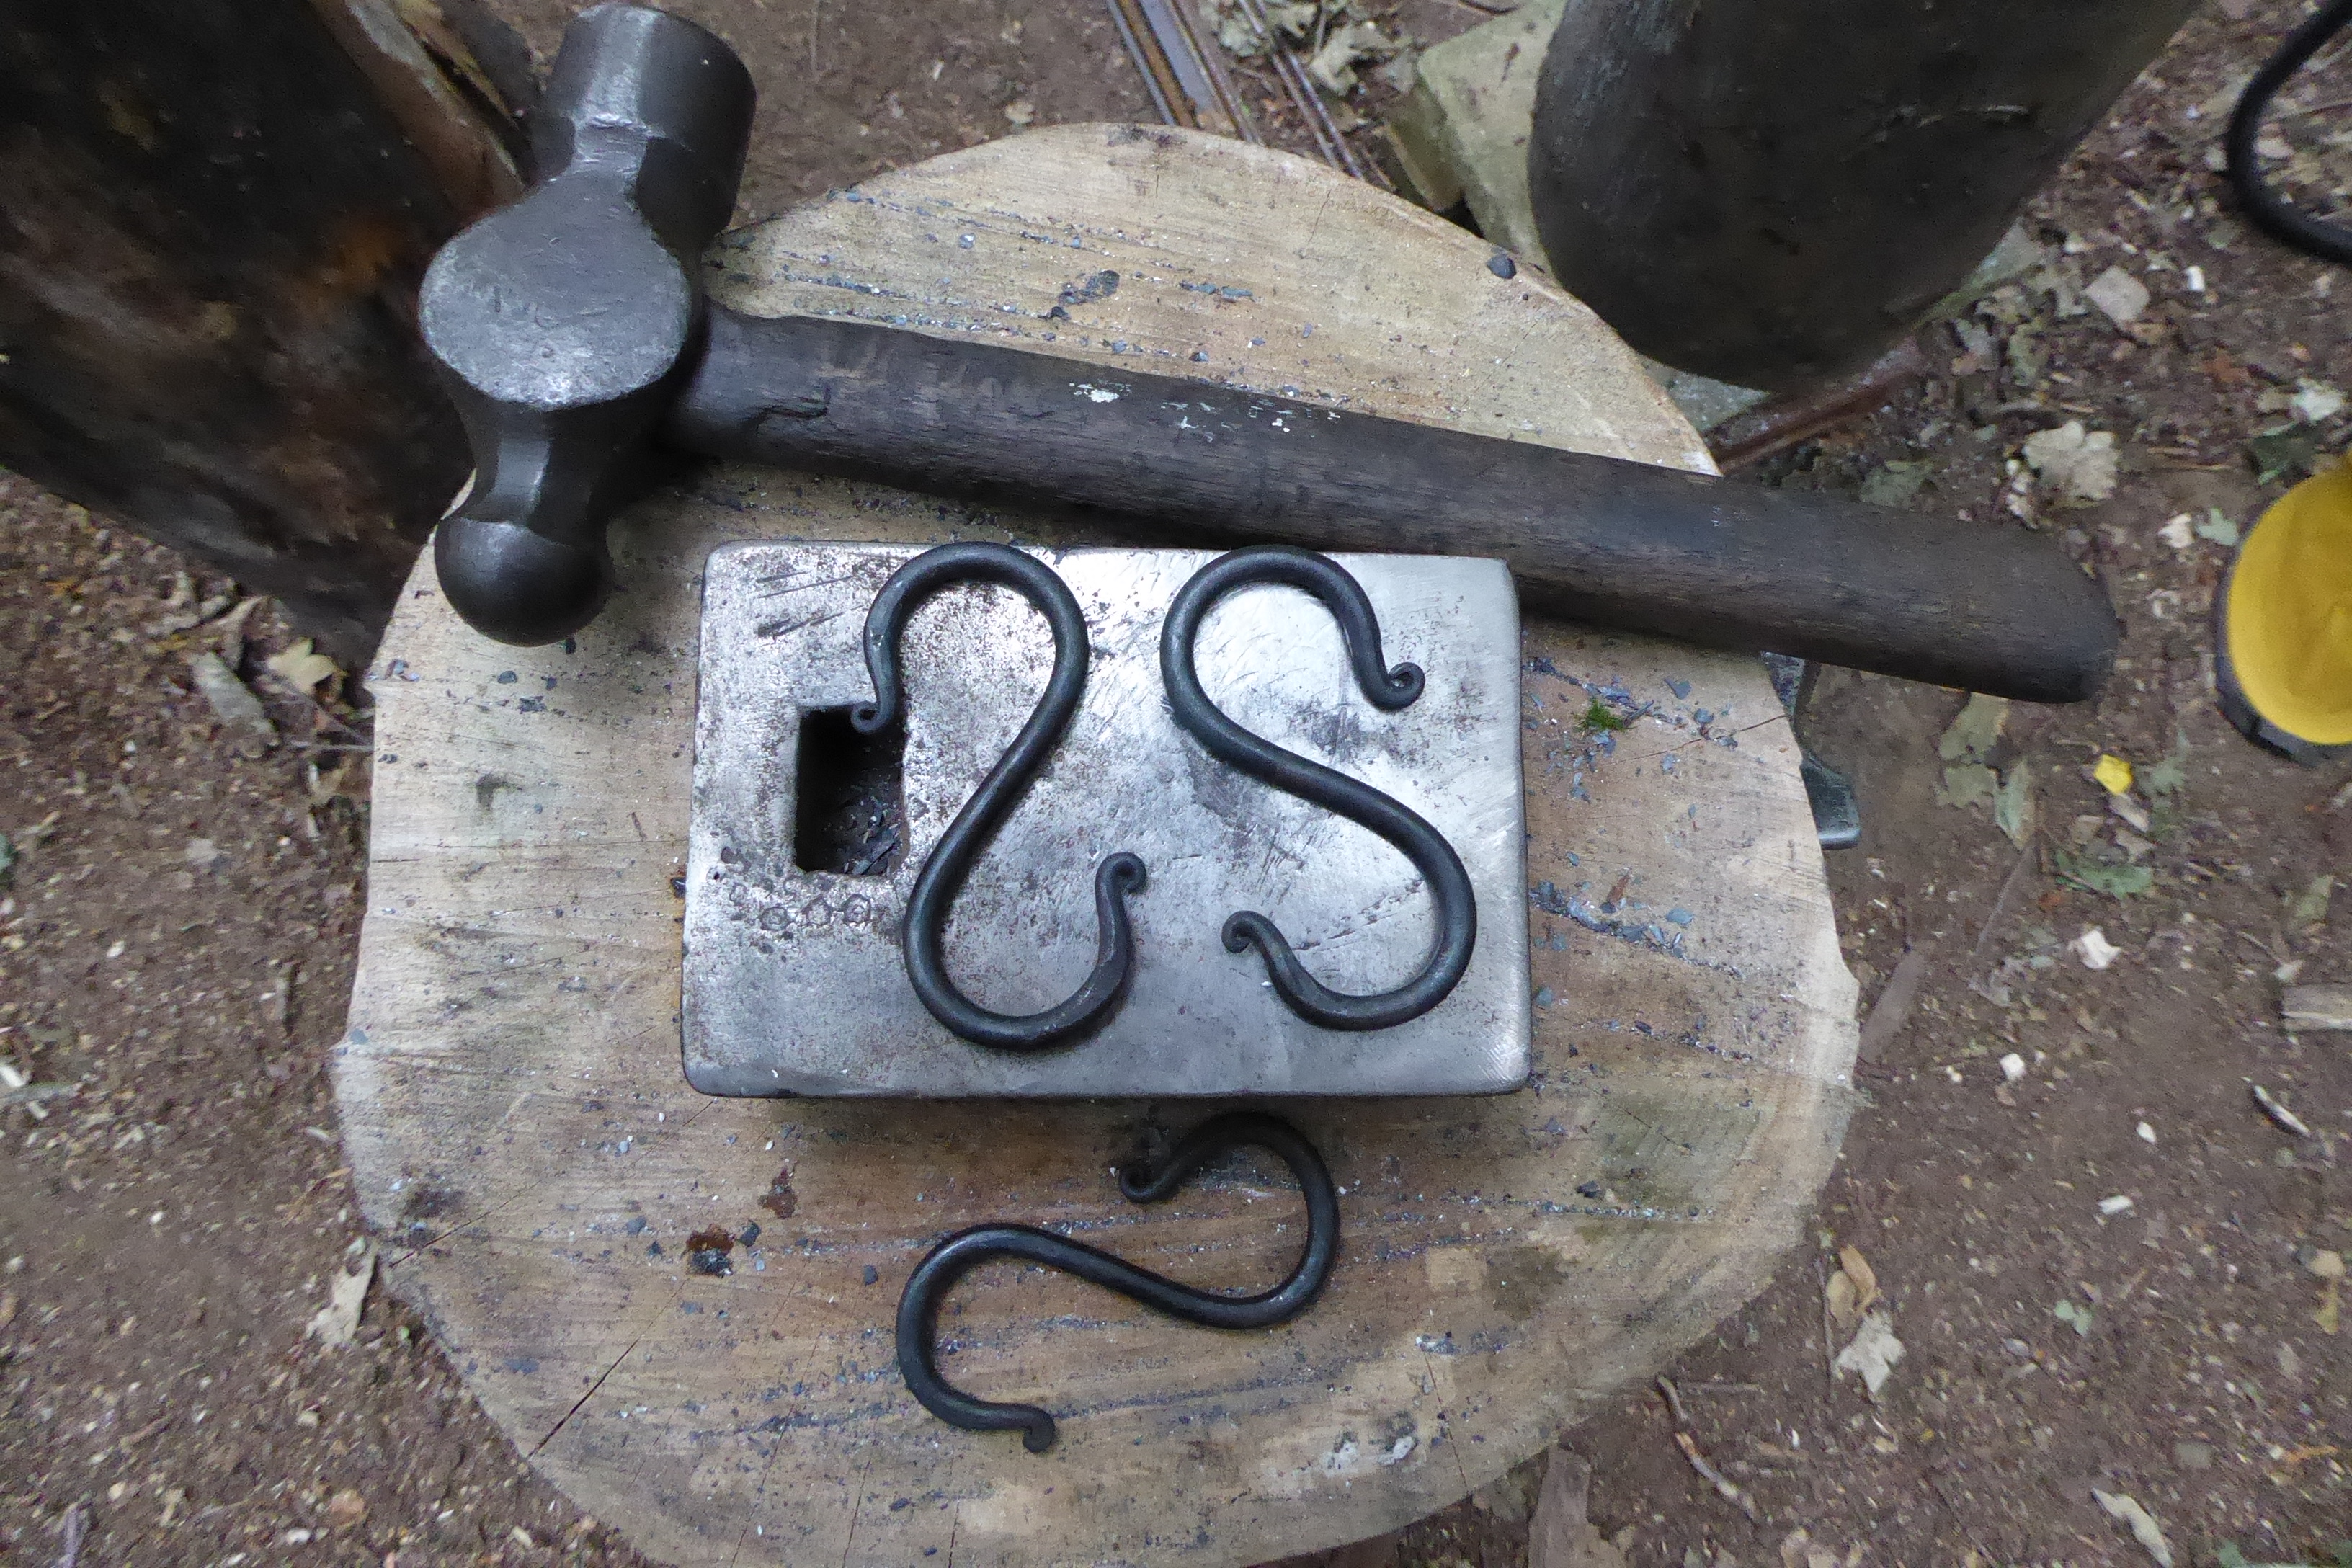
You can see my forge in the foreground – the bucket fire, stump anvil and vice I made in my last post and water bucket for quenching the hot steel; Simon centre (coffee mug in hand) and Phil (top right). Simon expertly led us through the processes of making an S-hook step by step and we each took to our stations and set about making one, sometimes gently coaxing us and sometimes admonishing us for making mistakes that showed we either hadn’t listened properly or simply forgotten his instructions. To make the hook we took a short piece of 6mm mild steel, squared and tapered the ends, rounded them off again, put a tight curl or finial on the ends, then bent them into the S shape then finishing them with beeswax and graphite paste. Easier said then done. Here’s Alan concentrating and working on his taper.
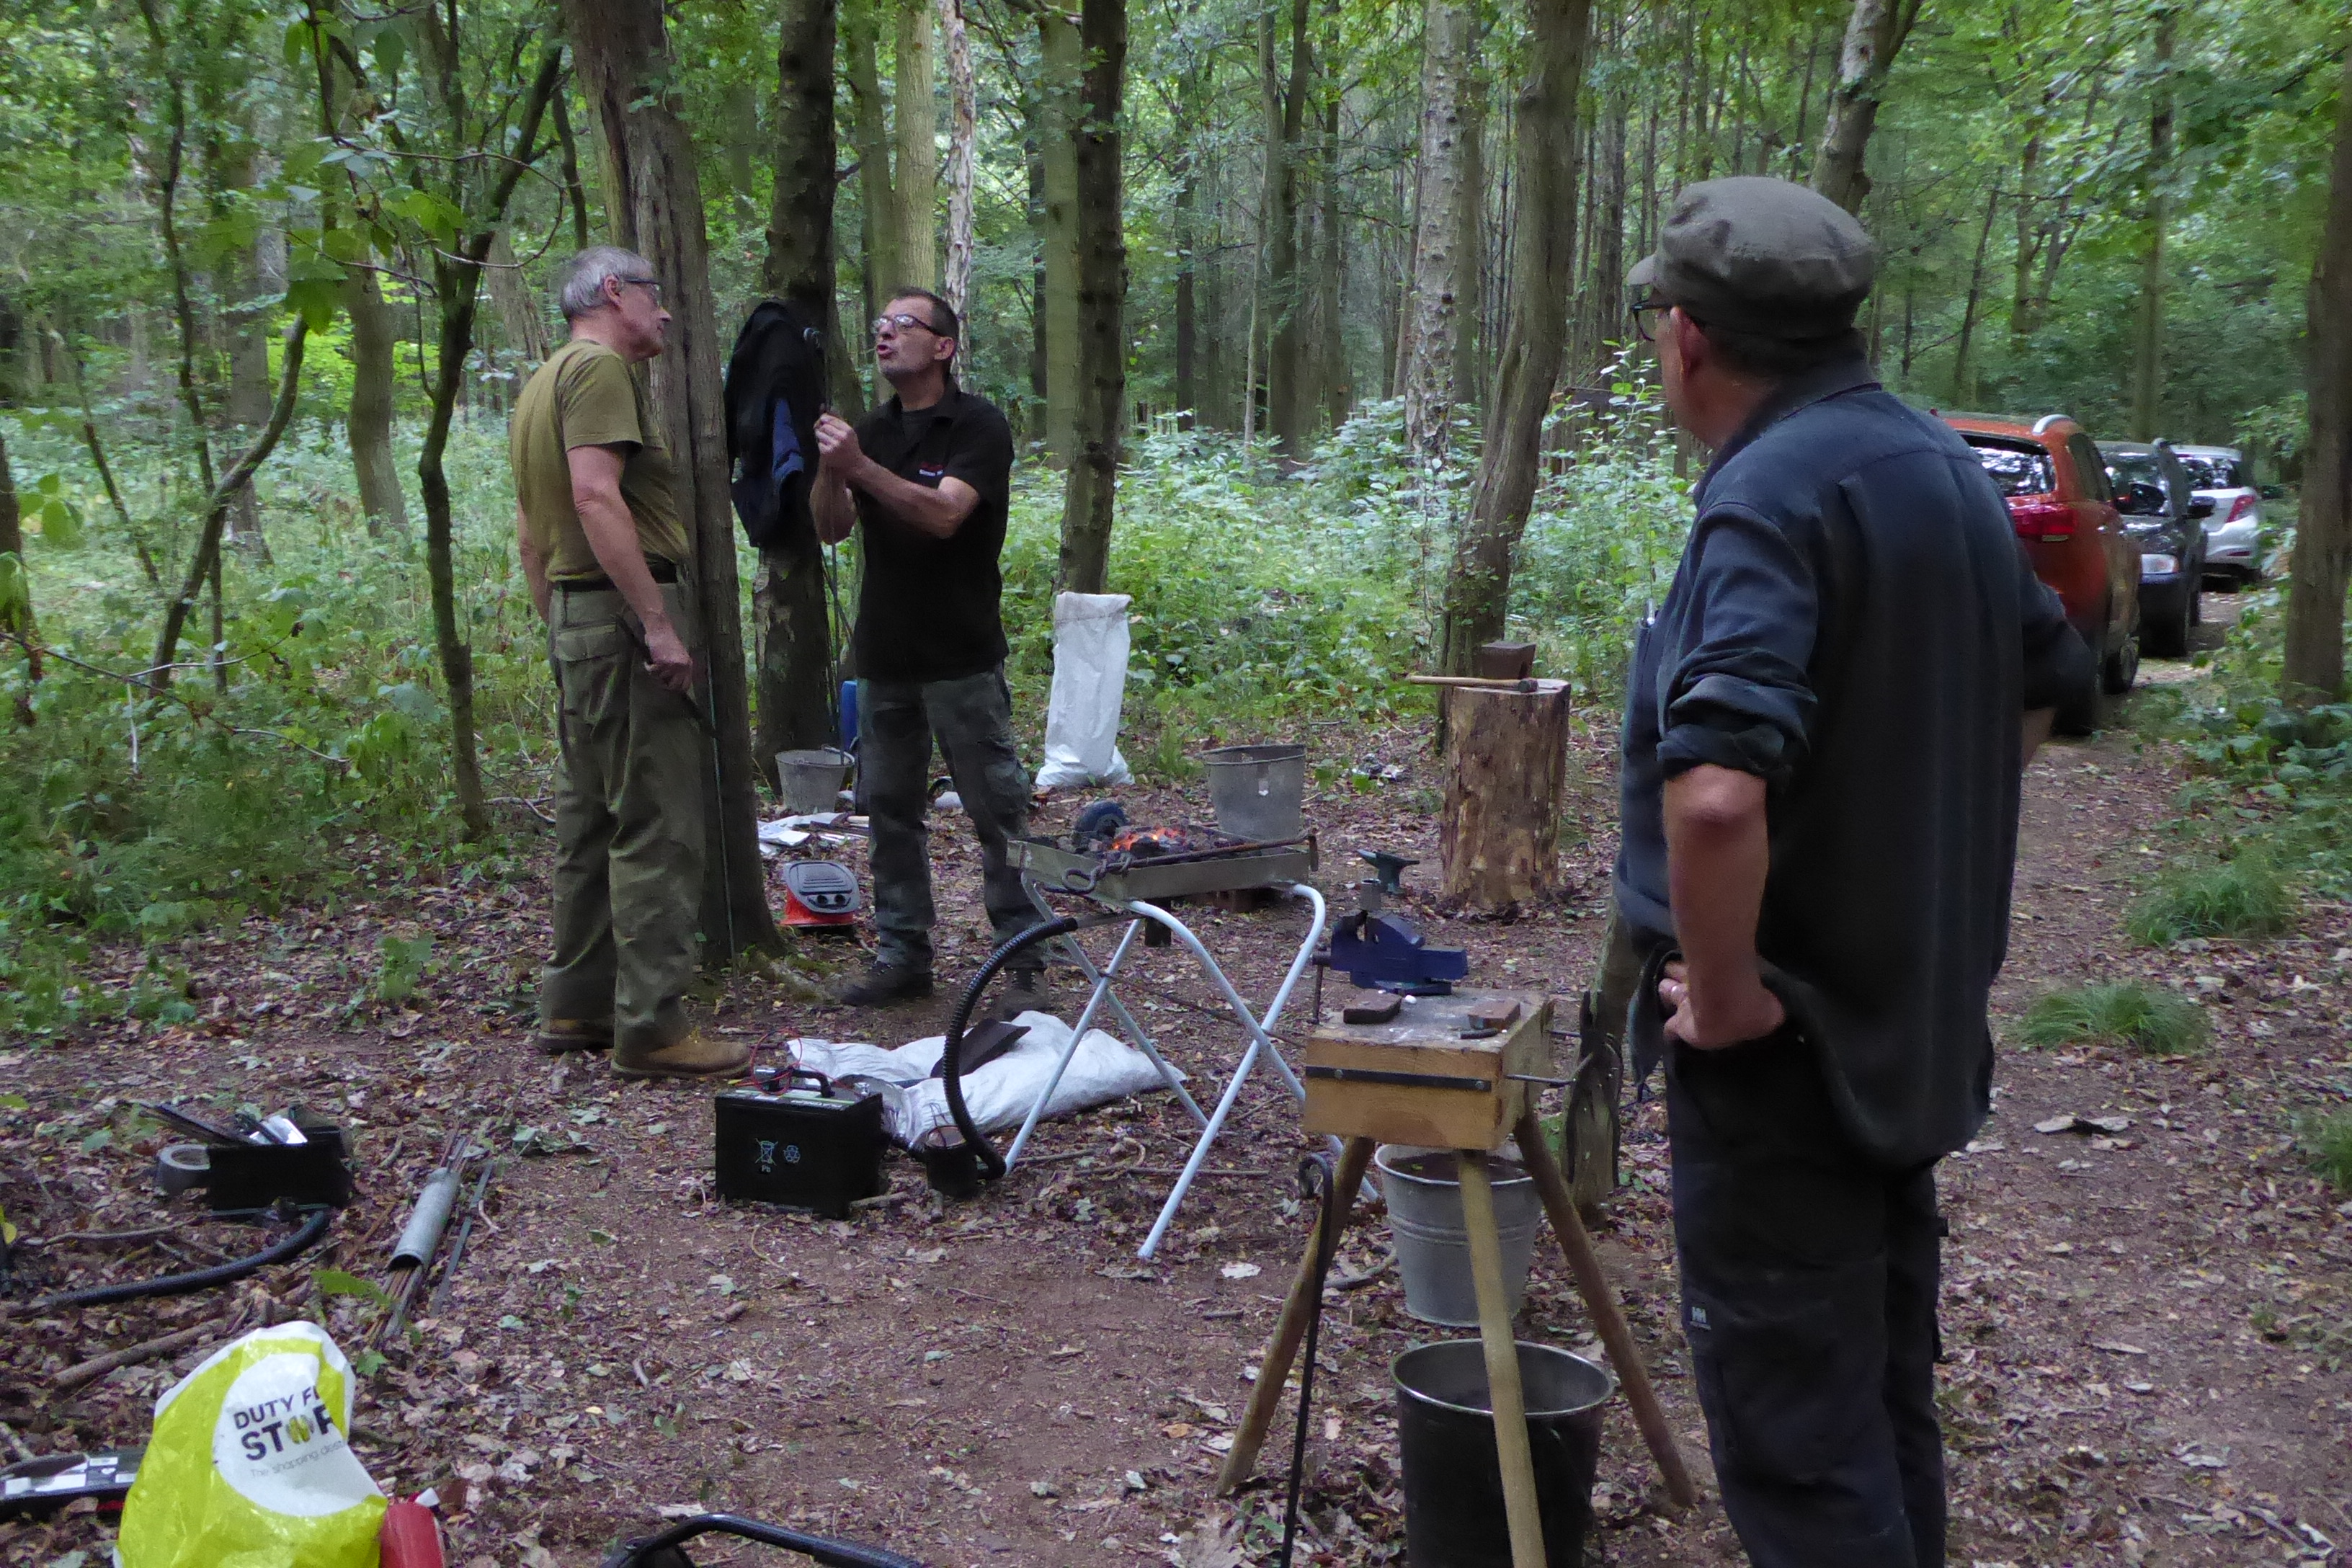
Here’s Simon explaining something to Phil while Alan looks on bemused and wondering if he’s blowing Phil a kiss!
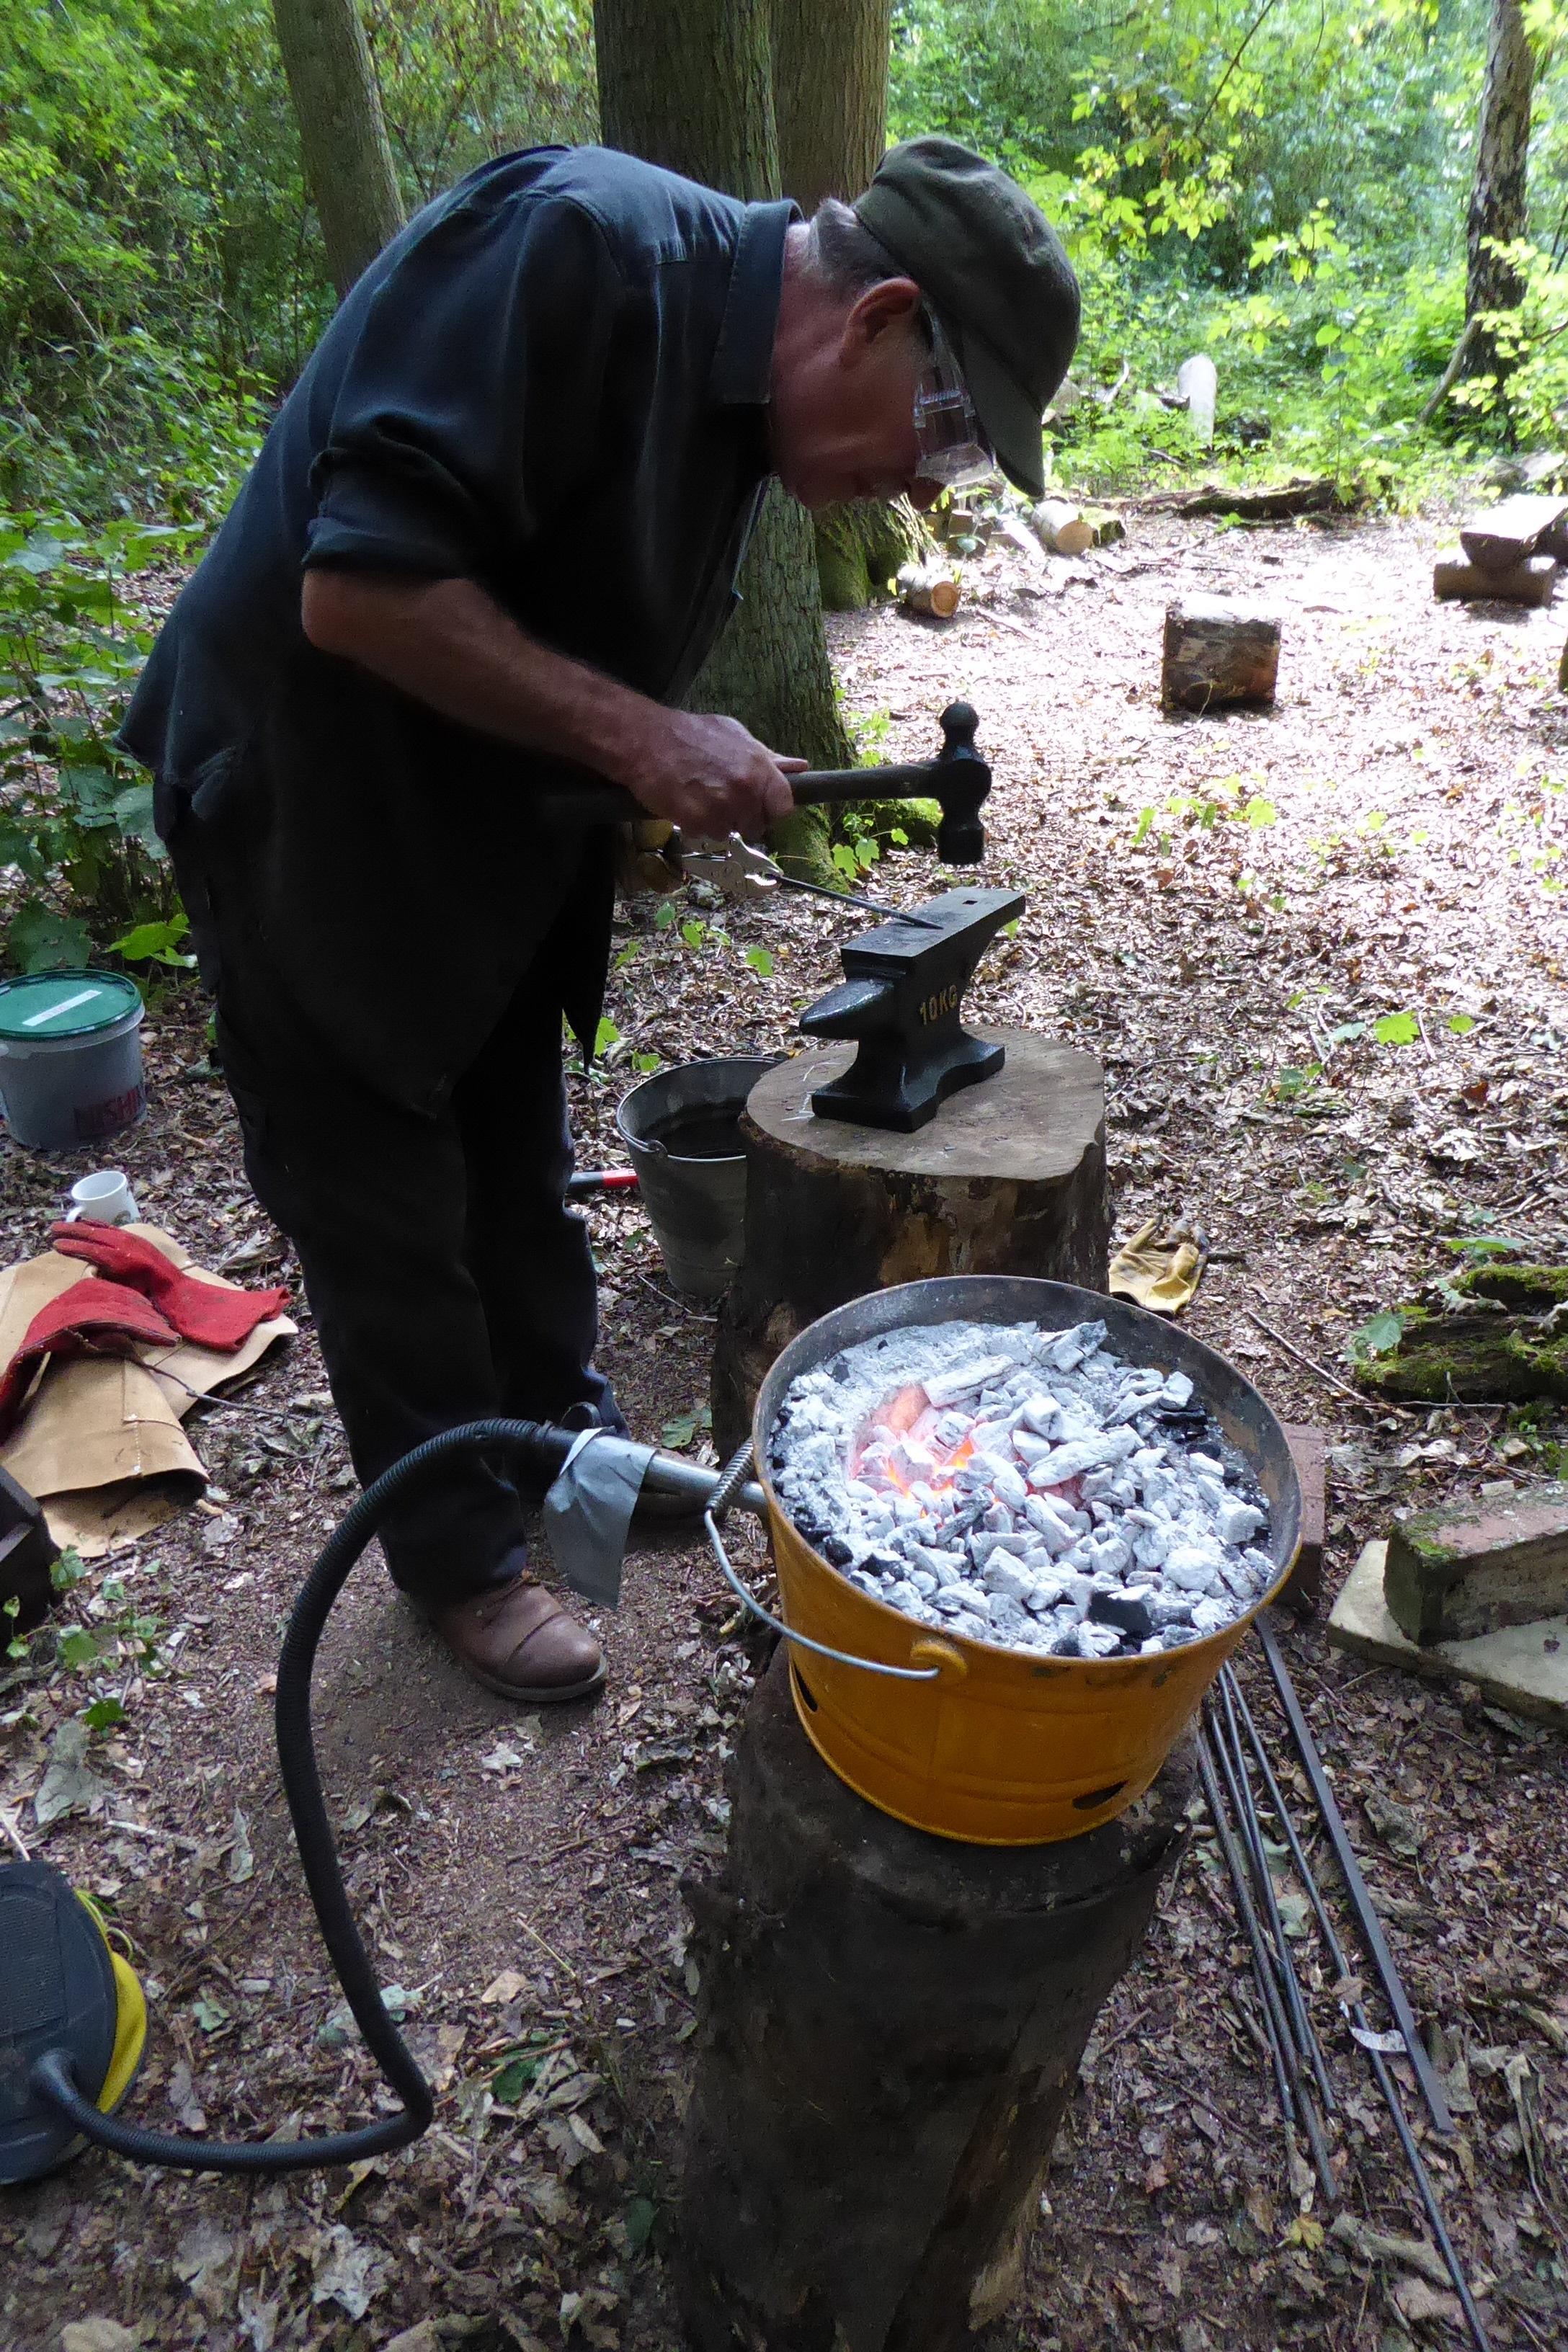
I find blacksmithing very satisfying but at times quite stressful. It can be full-on and fast paced. I’m more at home with woodworking which I have had plenty of experience with and which allows a slower and steadier pace of working. You might have tried the old co-ordination trick of patting your head with one hand whilst stroking your stomach in a circular motion with the other – it’s difficult isn’t it? Well imagine you’re an octopus with several limbs and you have to perform numerous other tasks at the same time and all done under the pressure of remembering what to do and getting it right in the few seconds you have before the hot steel cools down to an unworkable temperature. Of course it’s like anything else, it takes hours of practice before you can do it proficiently and without thinking. Nevertheless we all managed to make something to be proud of. I’ve had a few blacksmithing sessions with Simon before but didn’t feel confident and felt like I was all “fingers and thumbs” but that certainly helped because I soon started to get into the swing of it. Here’s me working on my finial curl.
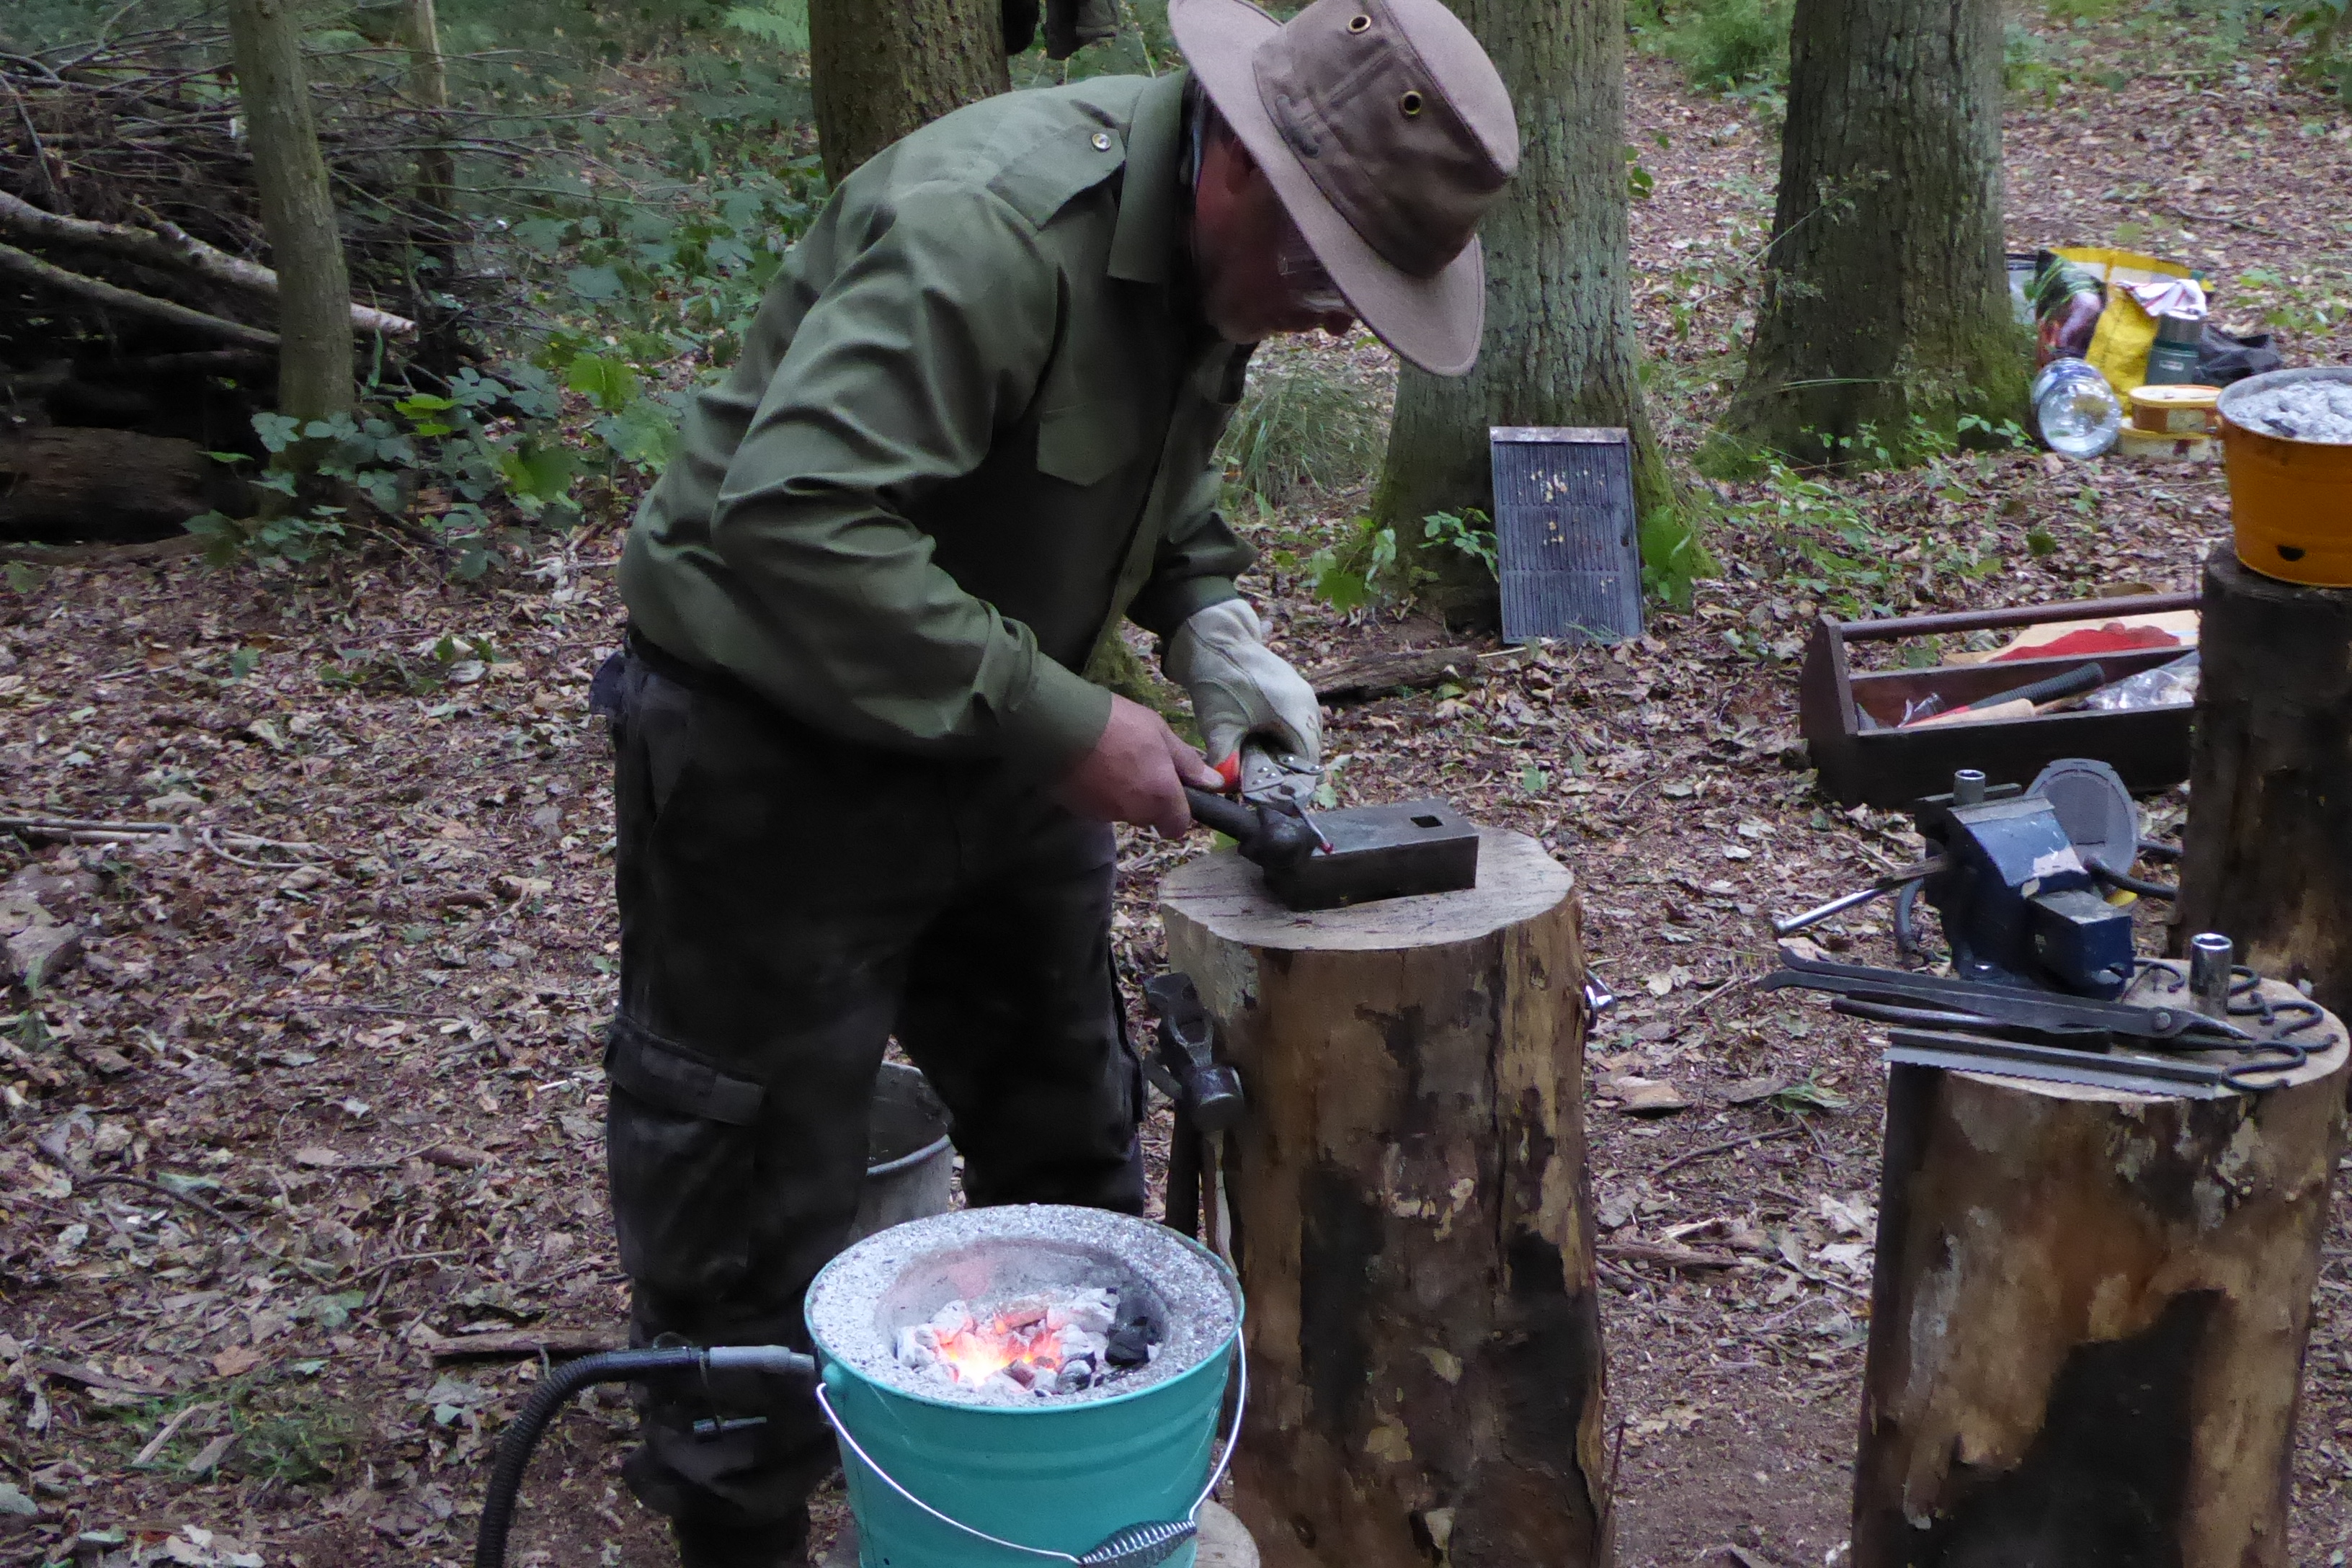
and my three finished S-hooks
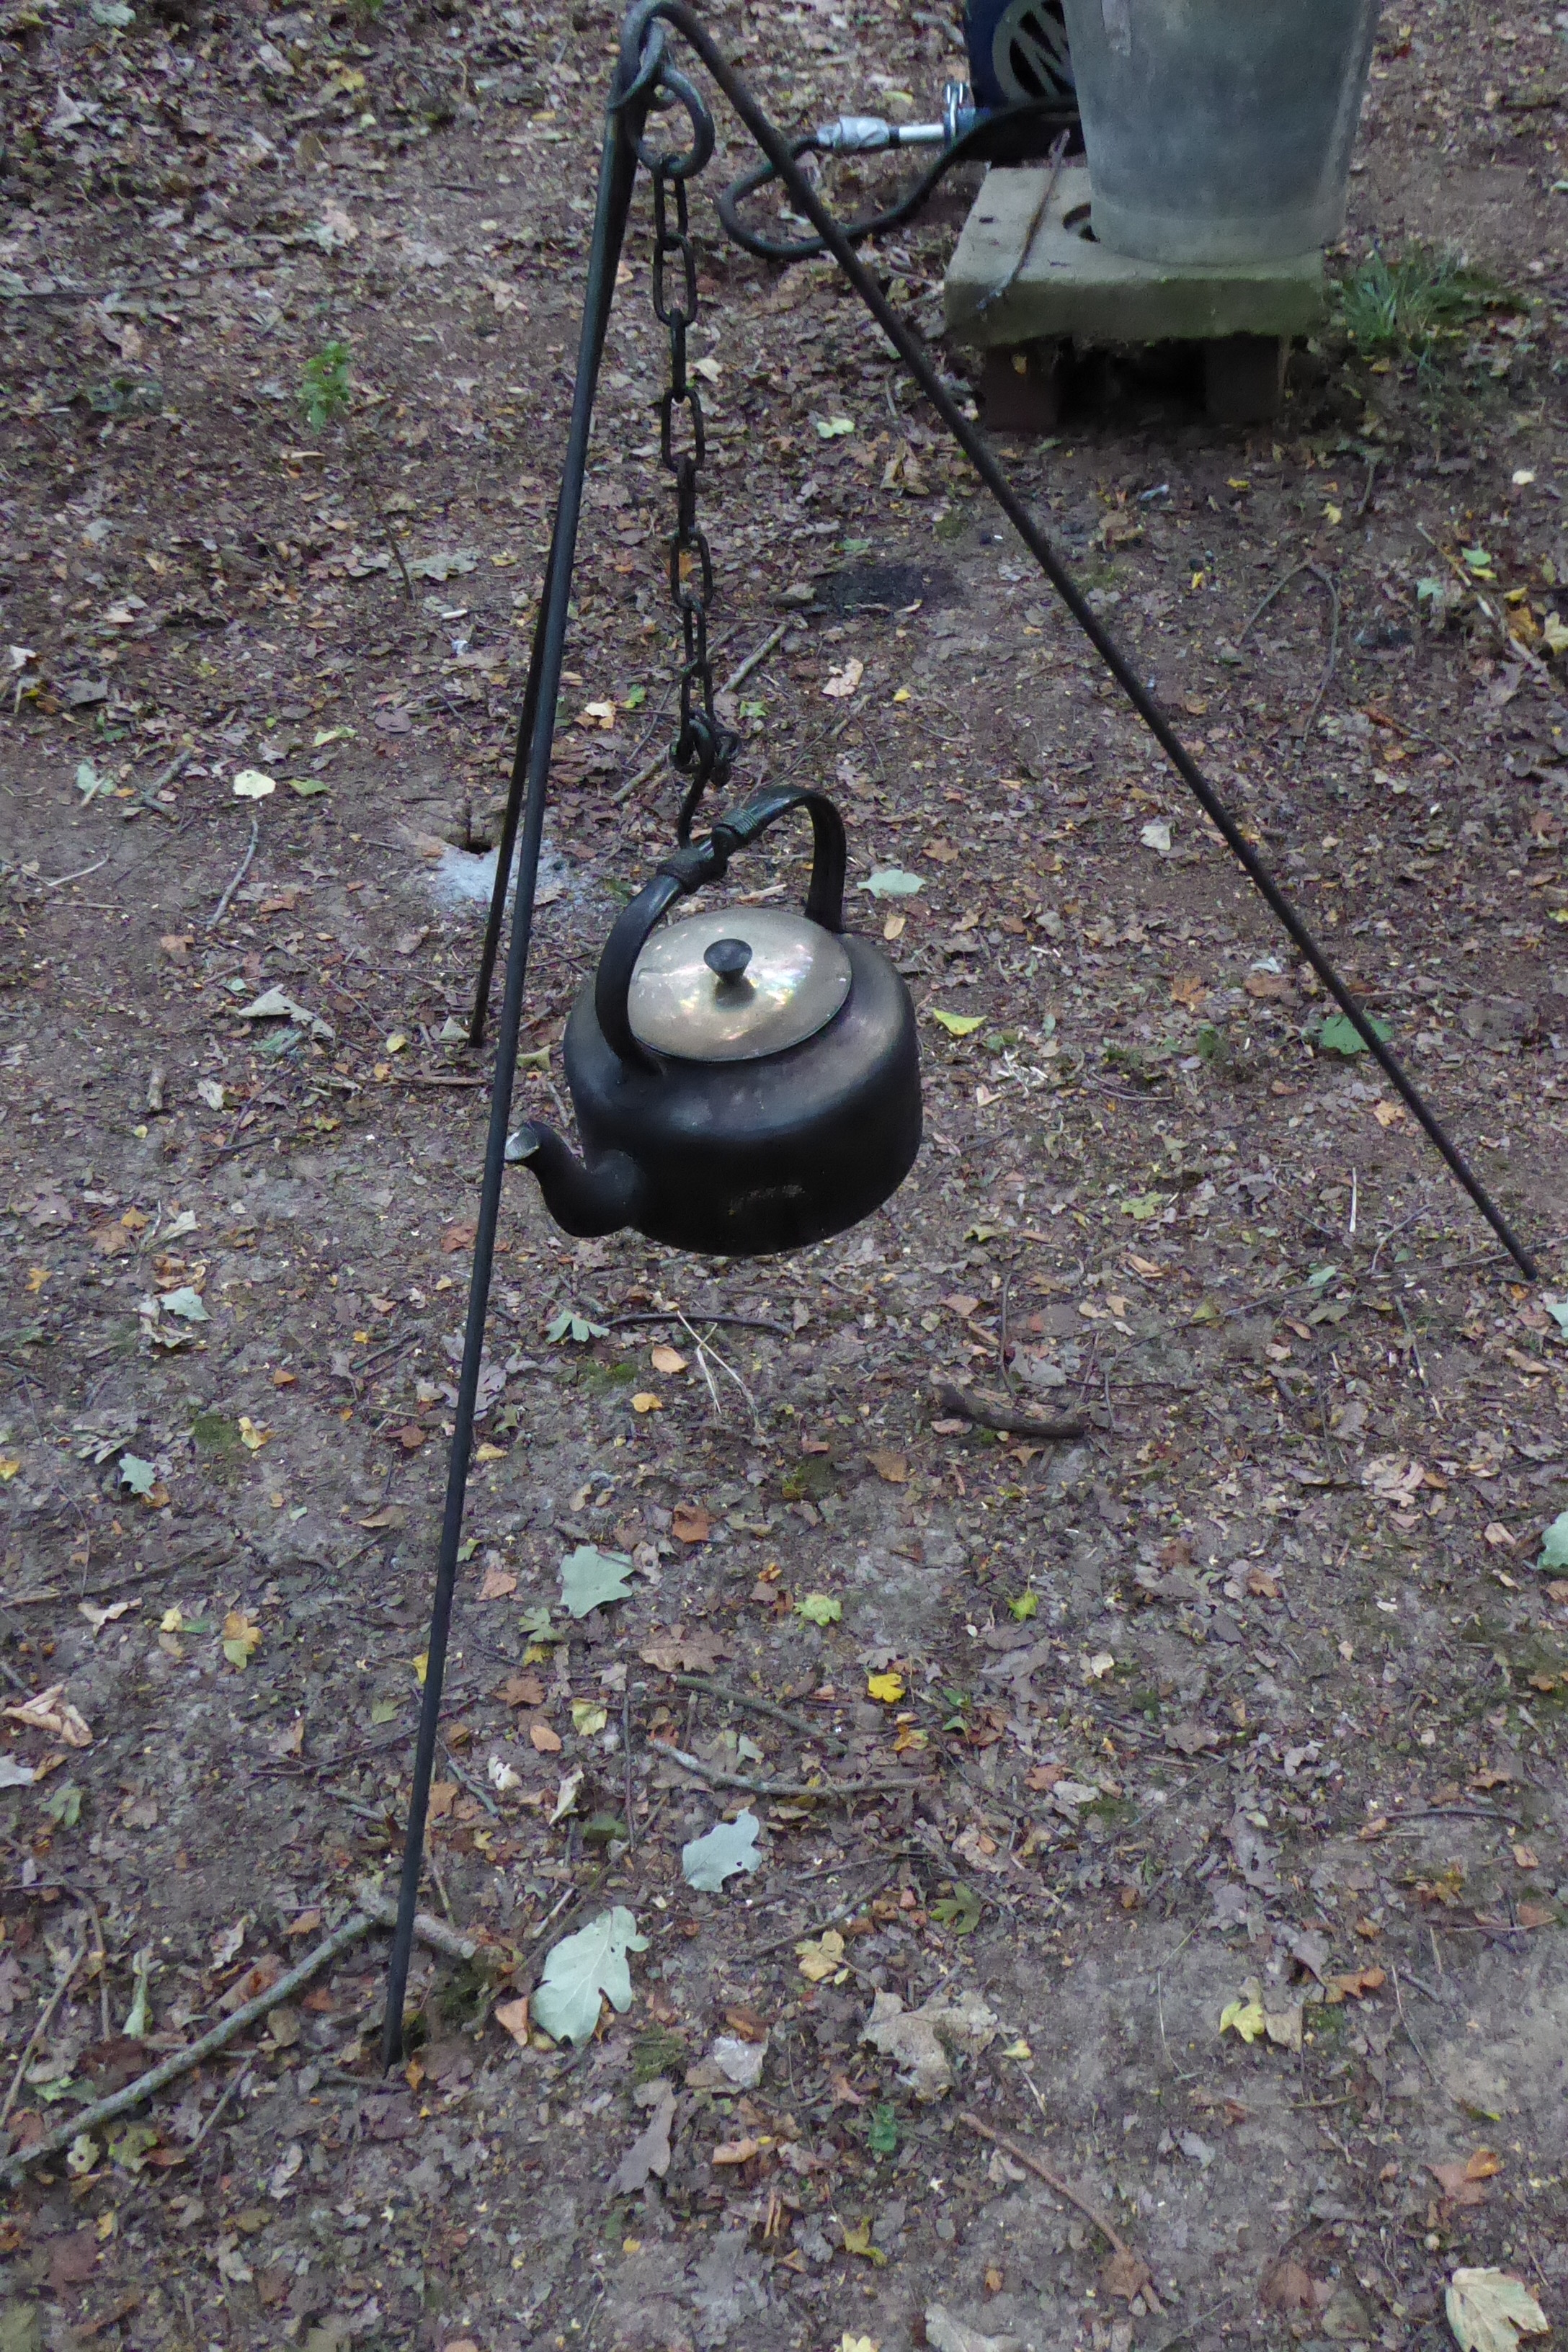
Phil went on to make a useful cooking tripod for suspending pots over a fire. They are three seperate legs with hooped rings which cleverly lock together at the top.
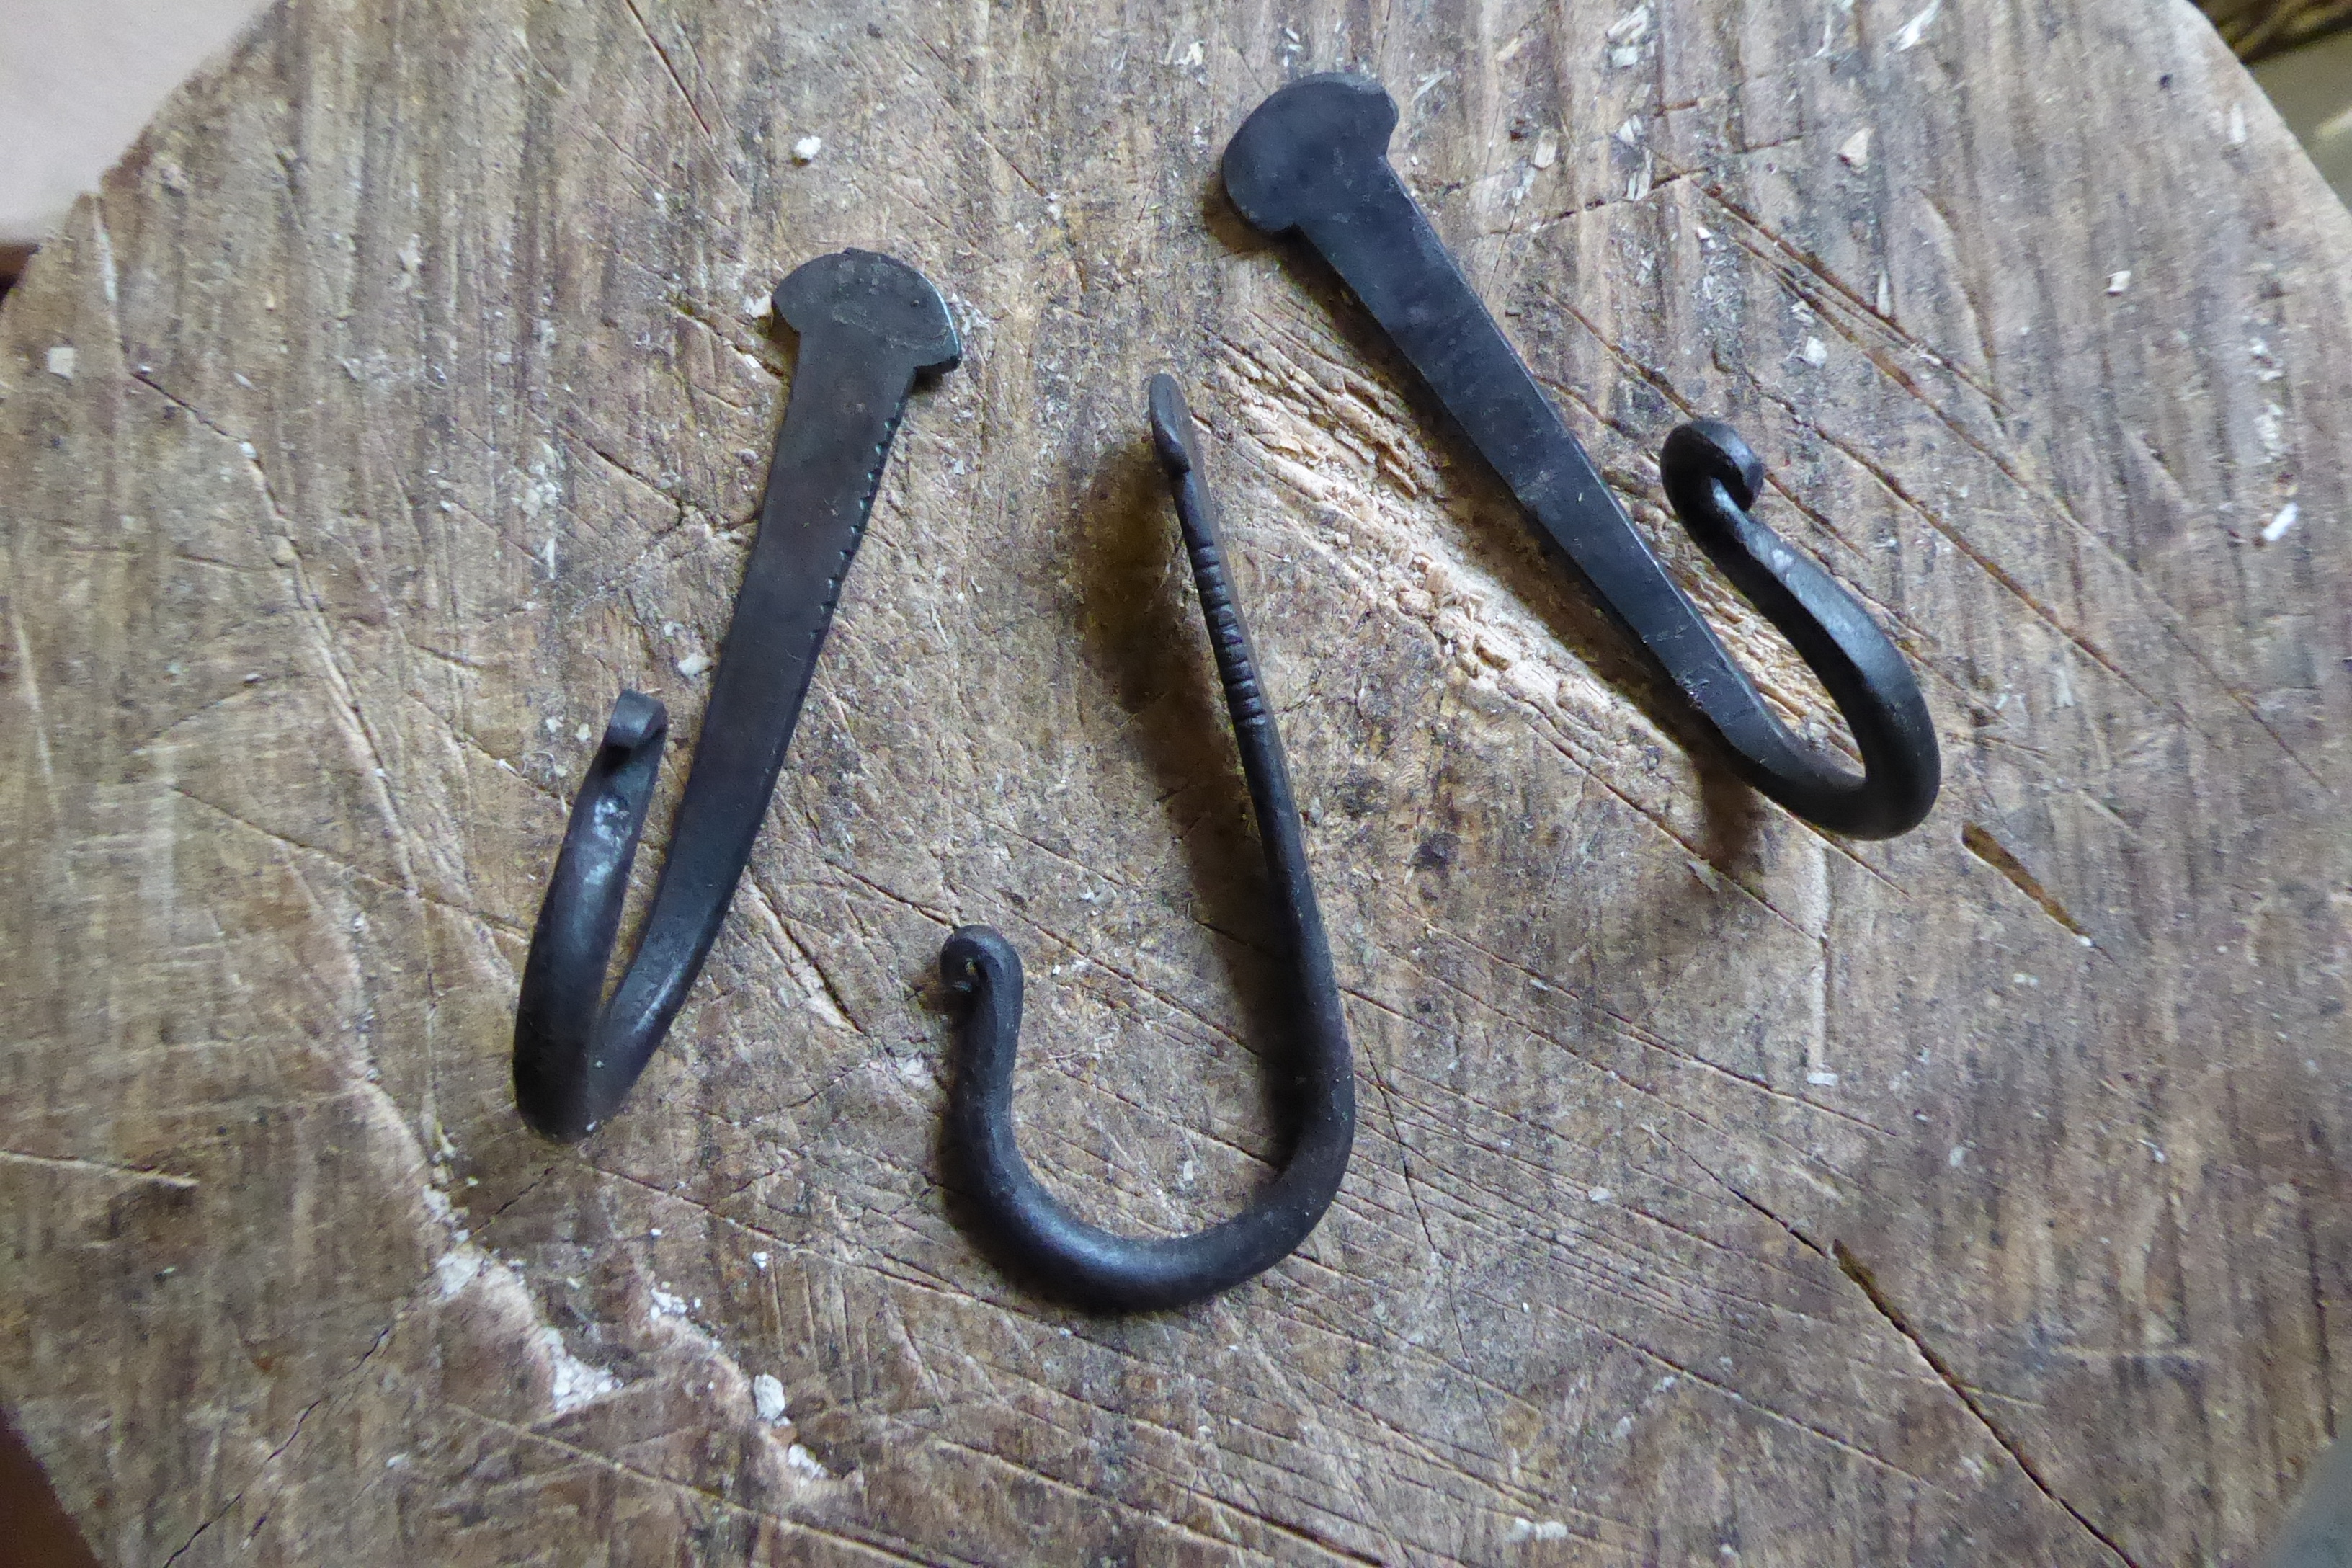
I had seen a demonstration of how to make small hooks with ordinary flat headed nails by flattening the top and putting a bend on them. Simon advised on adding a finial, so it was time to practice my new skills and have a go at some on my own. They will require a hole drilling in the top, then I hope to find a suitable log to split and make a rustic coat or cup or keyring hook rack.
In conclusion, well what a day to remember! We all got a huge amount of satisfaction, we got to try out our smithing equipment, learned lots of new skills to play with and had a good laugh too. Additionally for me, it was a joy to be able to host the event and share my woods with some great people by hosting the event and what could be a better location? Simon runs his blacksmithing courses from the old forge at Temple Newsham House, Leeds. If you fancy a one-to-one blackmith experience with him here are some links. He’s a great teacher and storyteller and I guarantee you will have a unique experience.
https://www.facebook.com/thelilliputforge/
http://lilliputforge.co.uk.websitebuilder.prositehosting.co.uk/
Be sure to read parts two and three of our weekend, following shortly


August 13, 2018 at 11:46 am
Thanks for allowing me to do what I love… Sharing my passion for Blacksmithing, and in such a magical setting. Thanks also for the very kind words. What an amazing couple of days.
Simon Reed
Artist Blacksmith
August 13, 2018 at 4:01 pm
You are very welcome Simon and thanks for your time and knowledge.
August 13, 2018 at 2:55 pm
Thankyou Dave for sharing your woods.Thankyou Simon for your patience, and thankyou Alan for sharing the Bodgers hut , and letting me use the bat detector.What a weekend.
August 28, 2018 at 2:46 pm
You are welcome Phil. We all gained from it and it wa great for me to have such interesting company and fun.